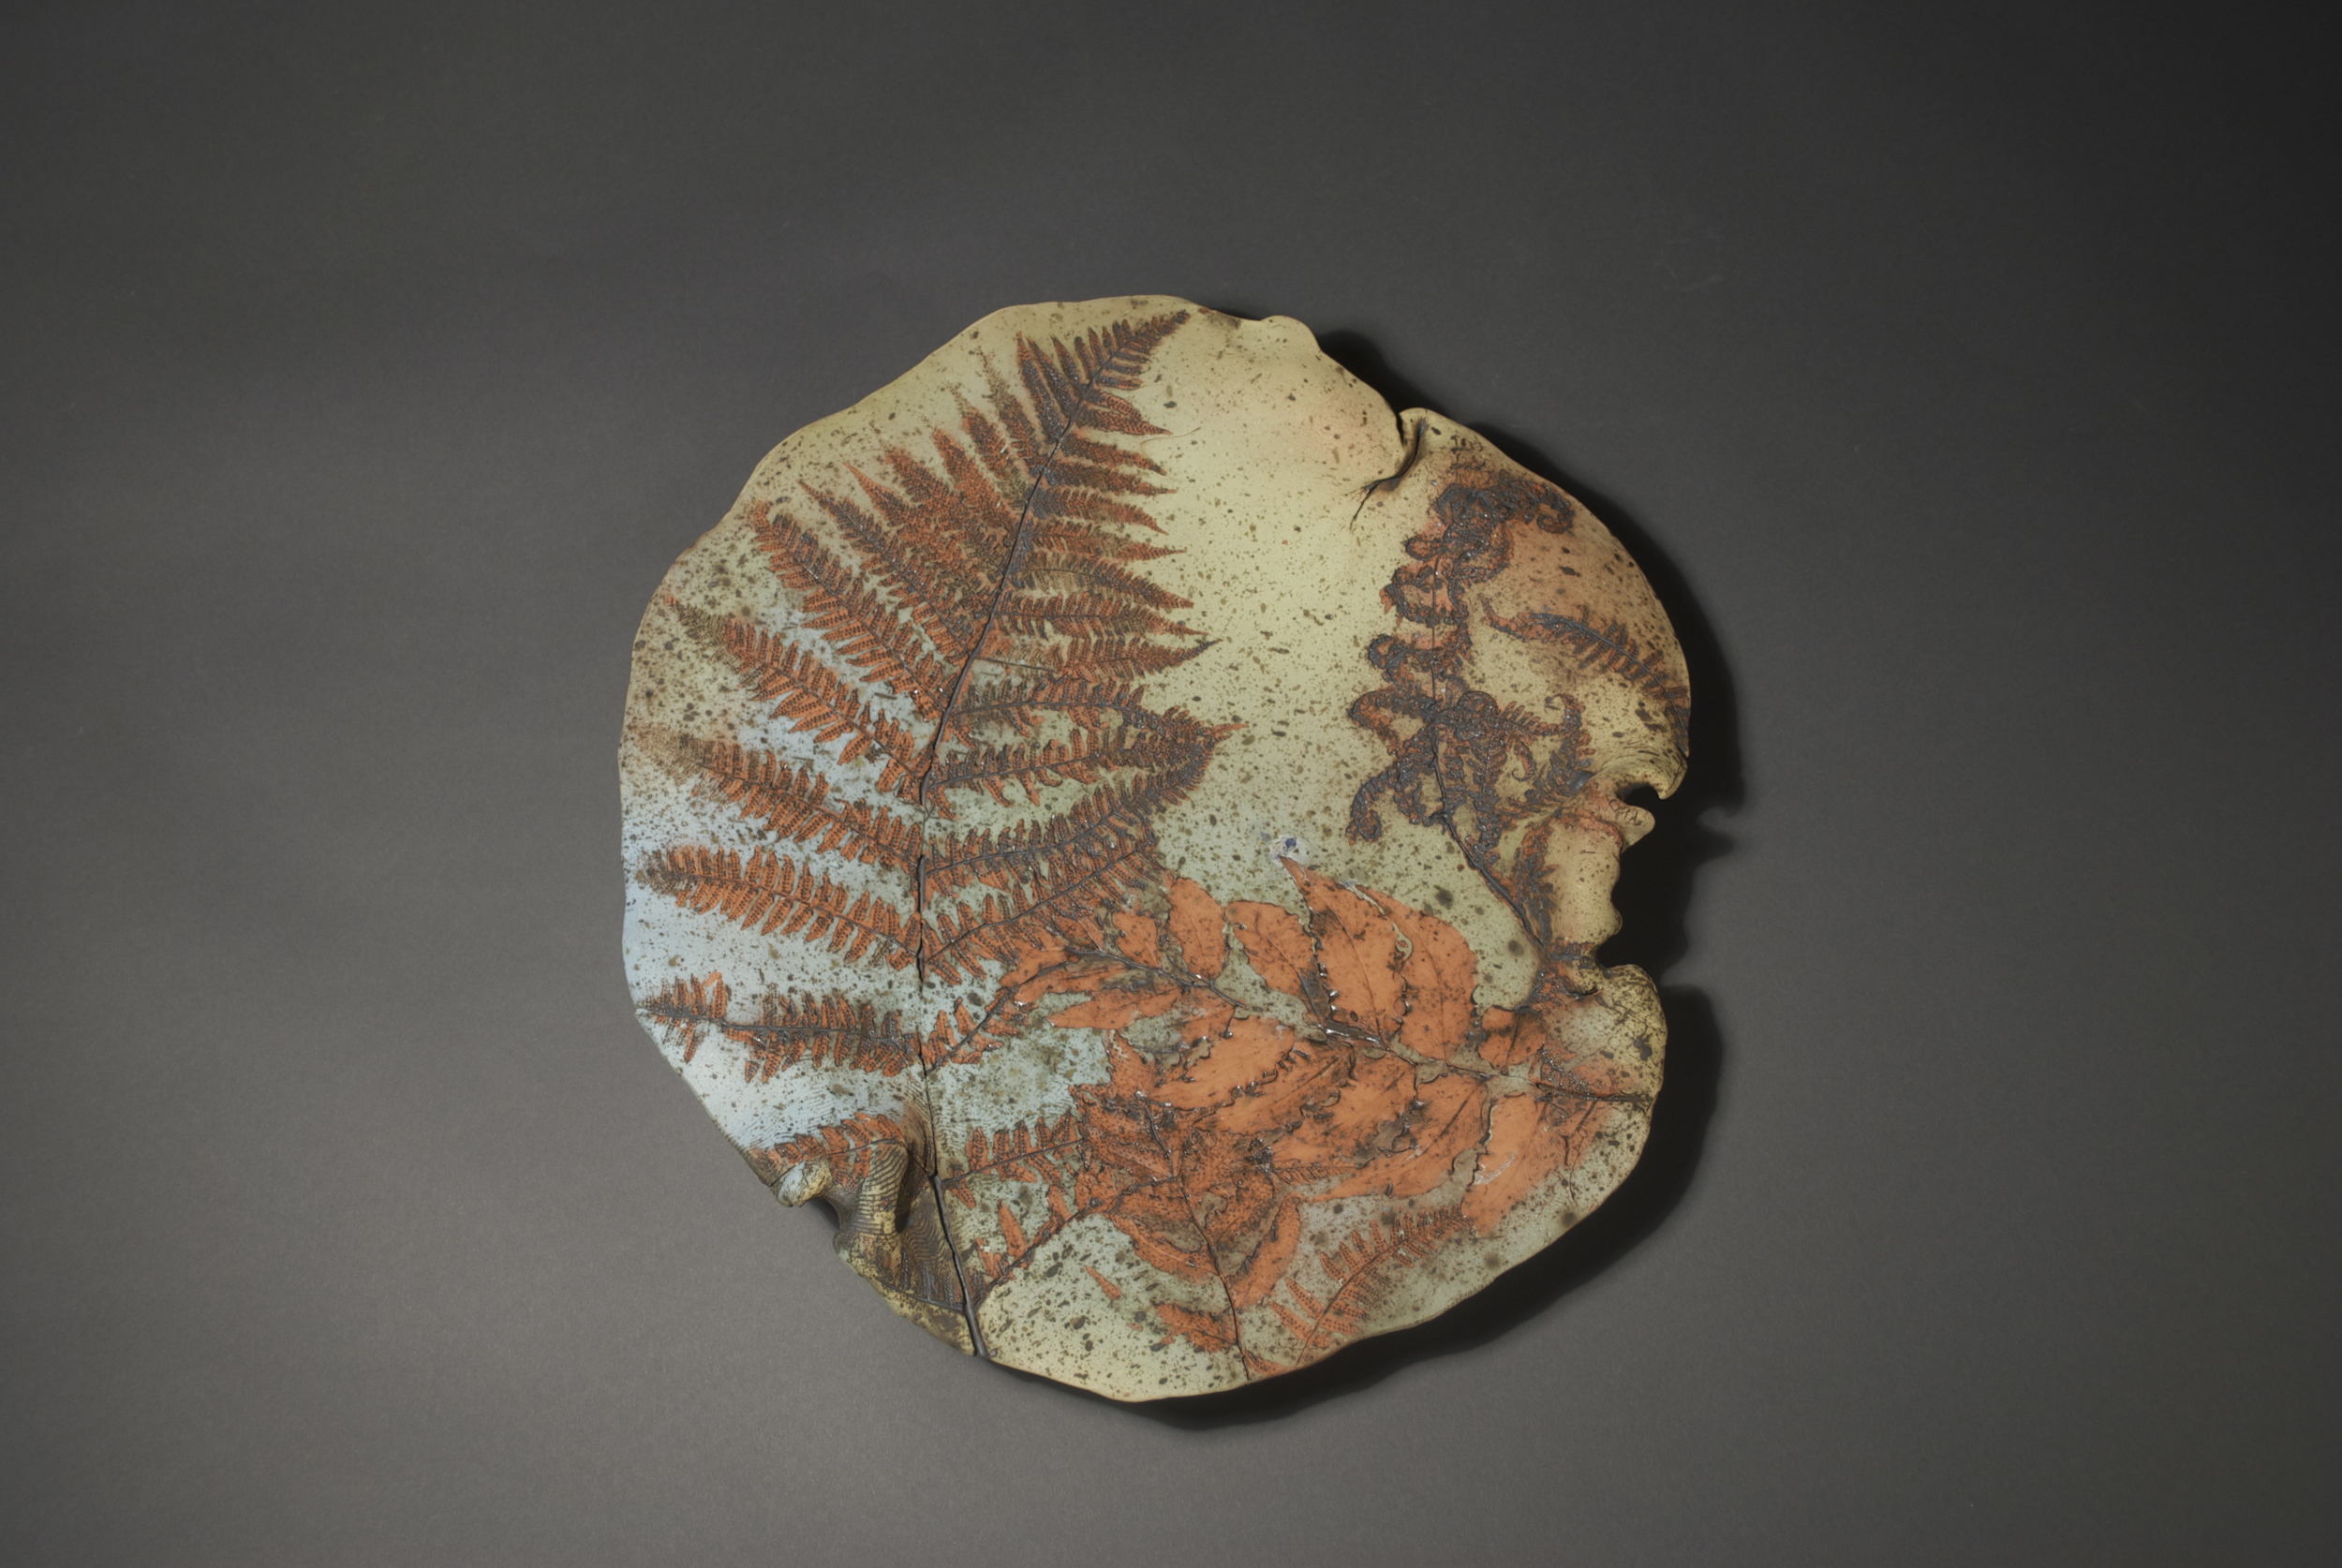

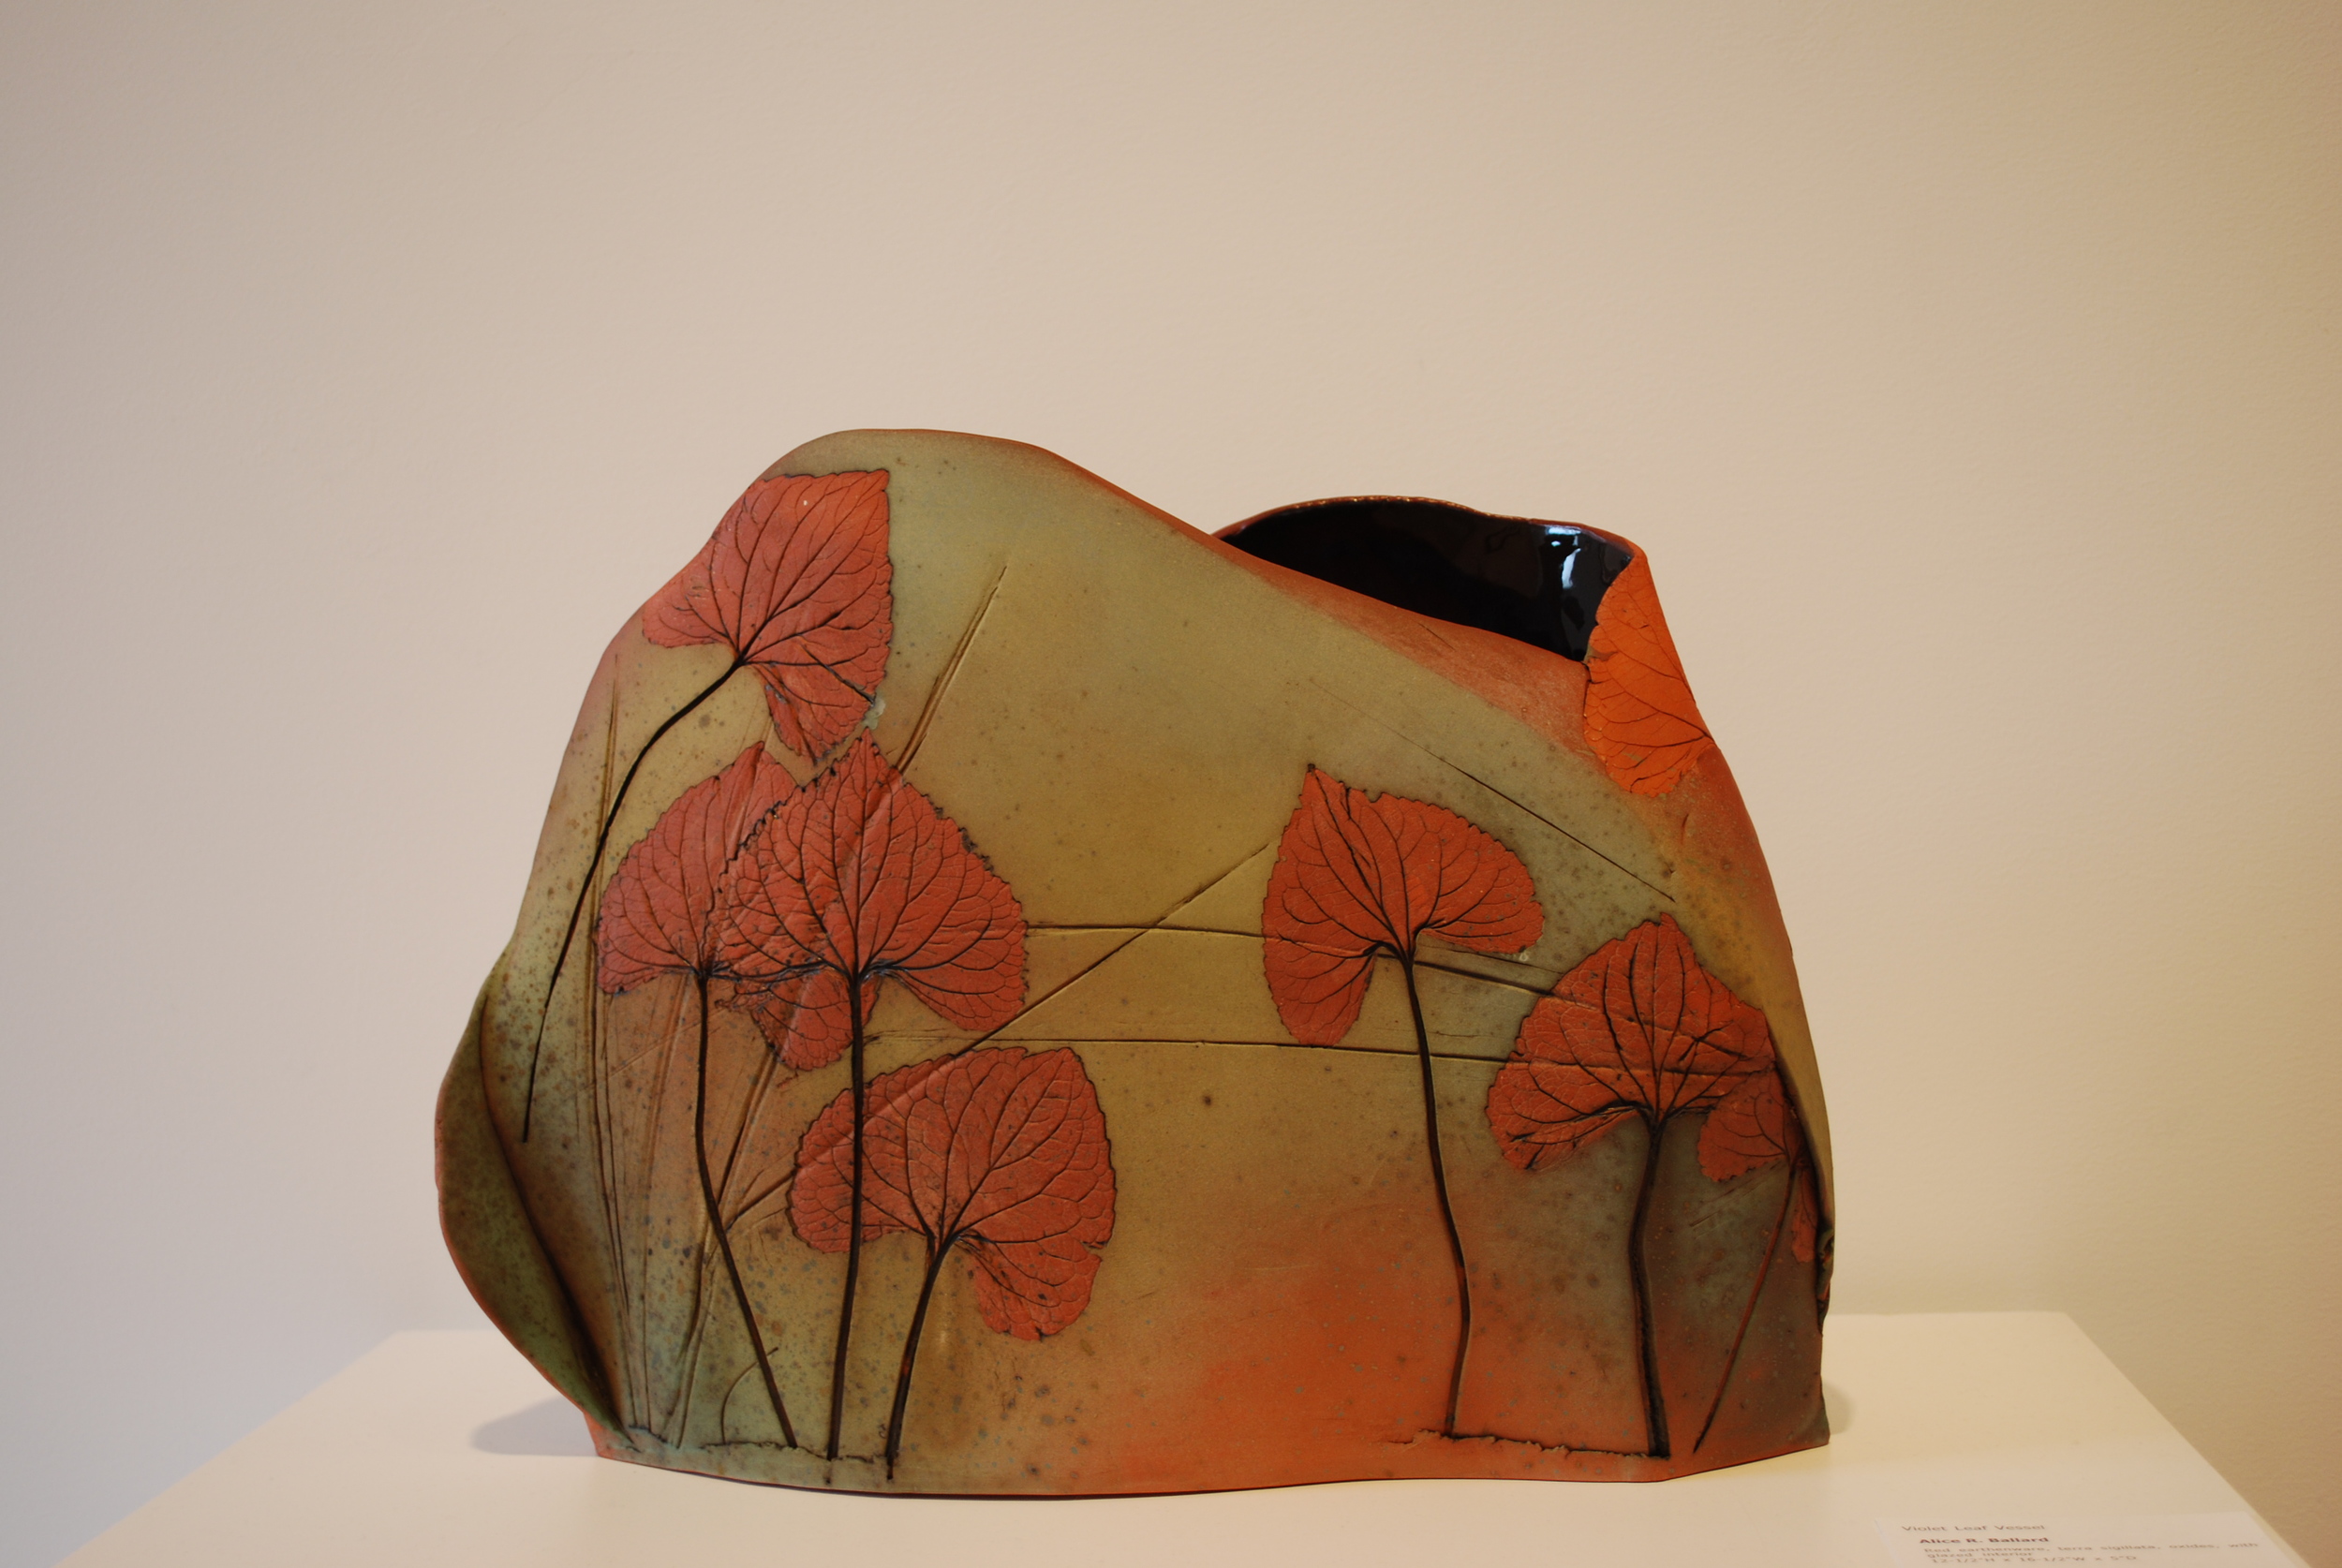
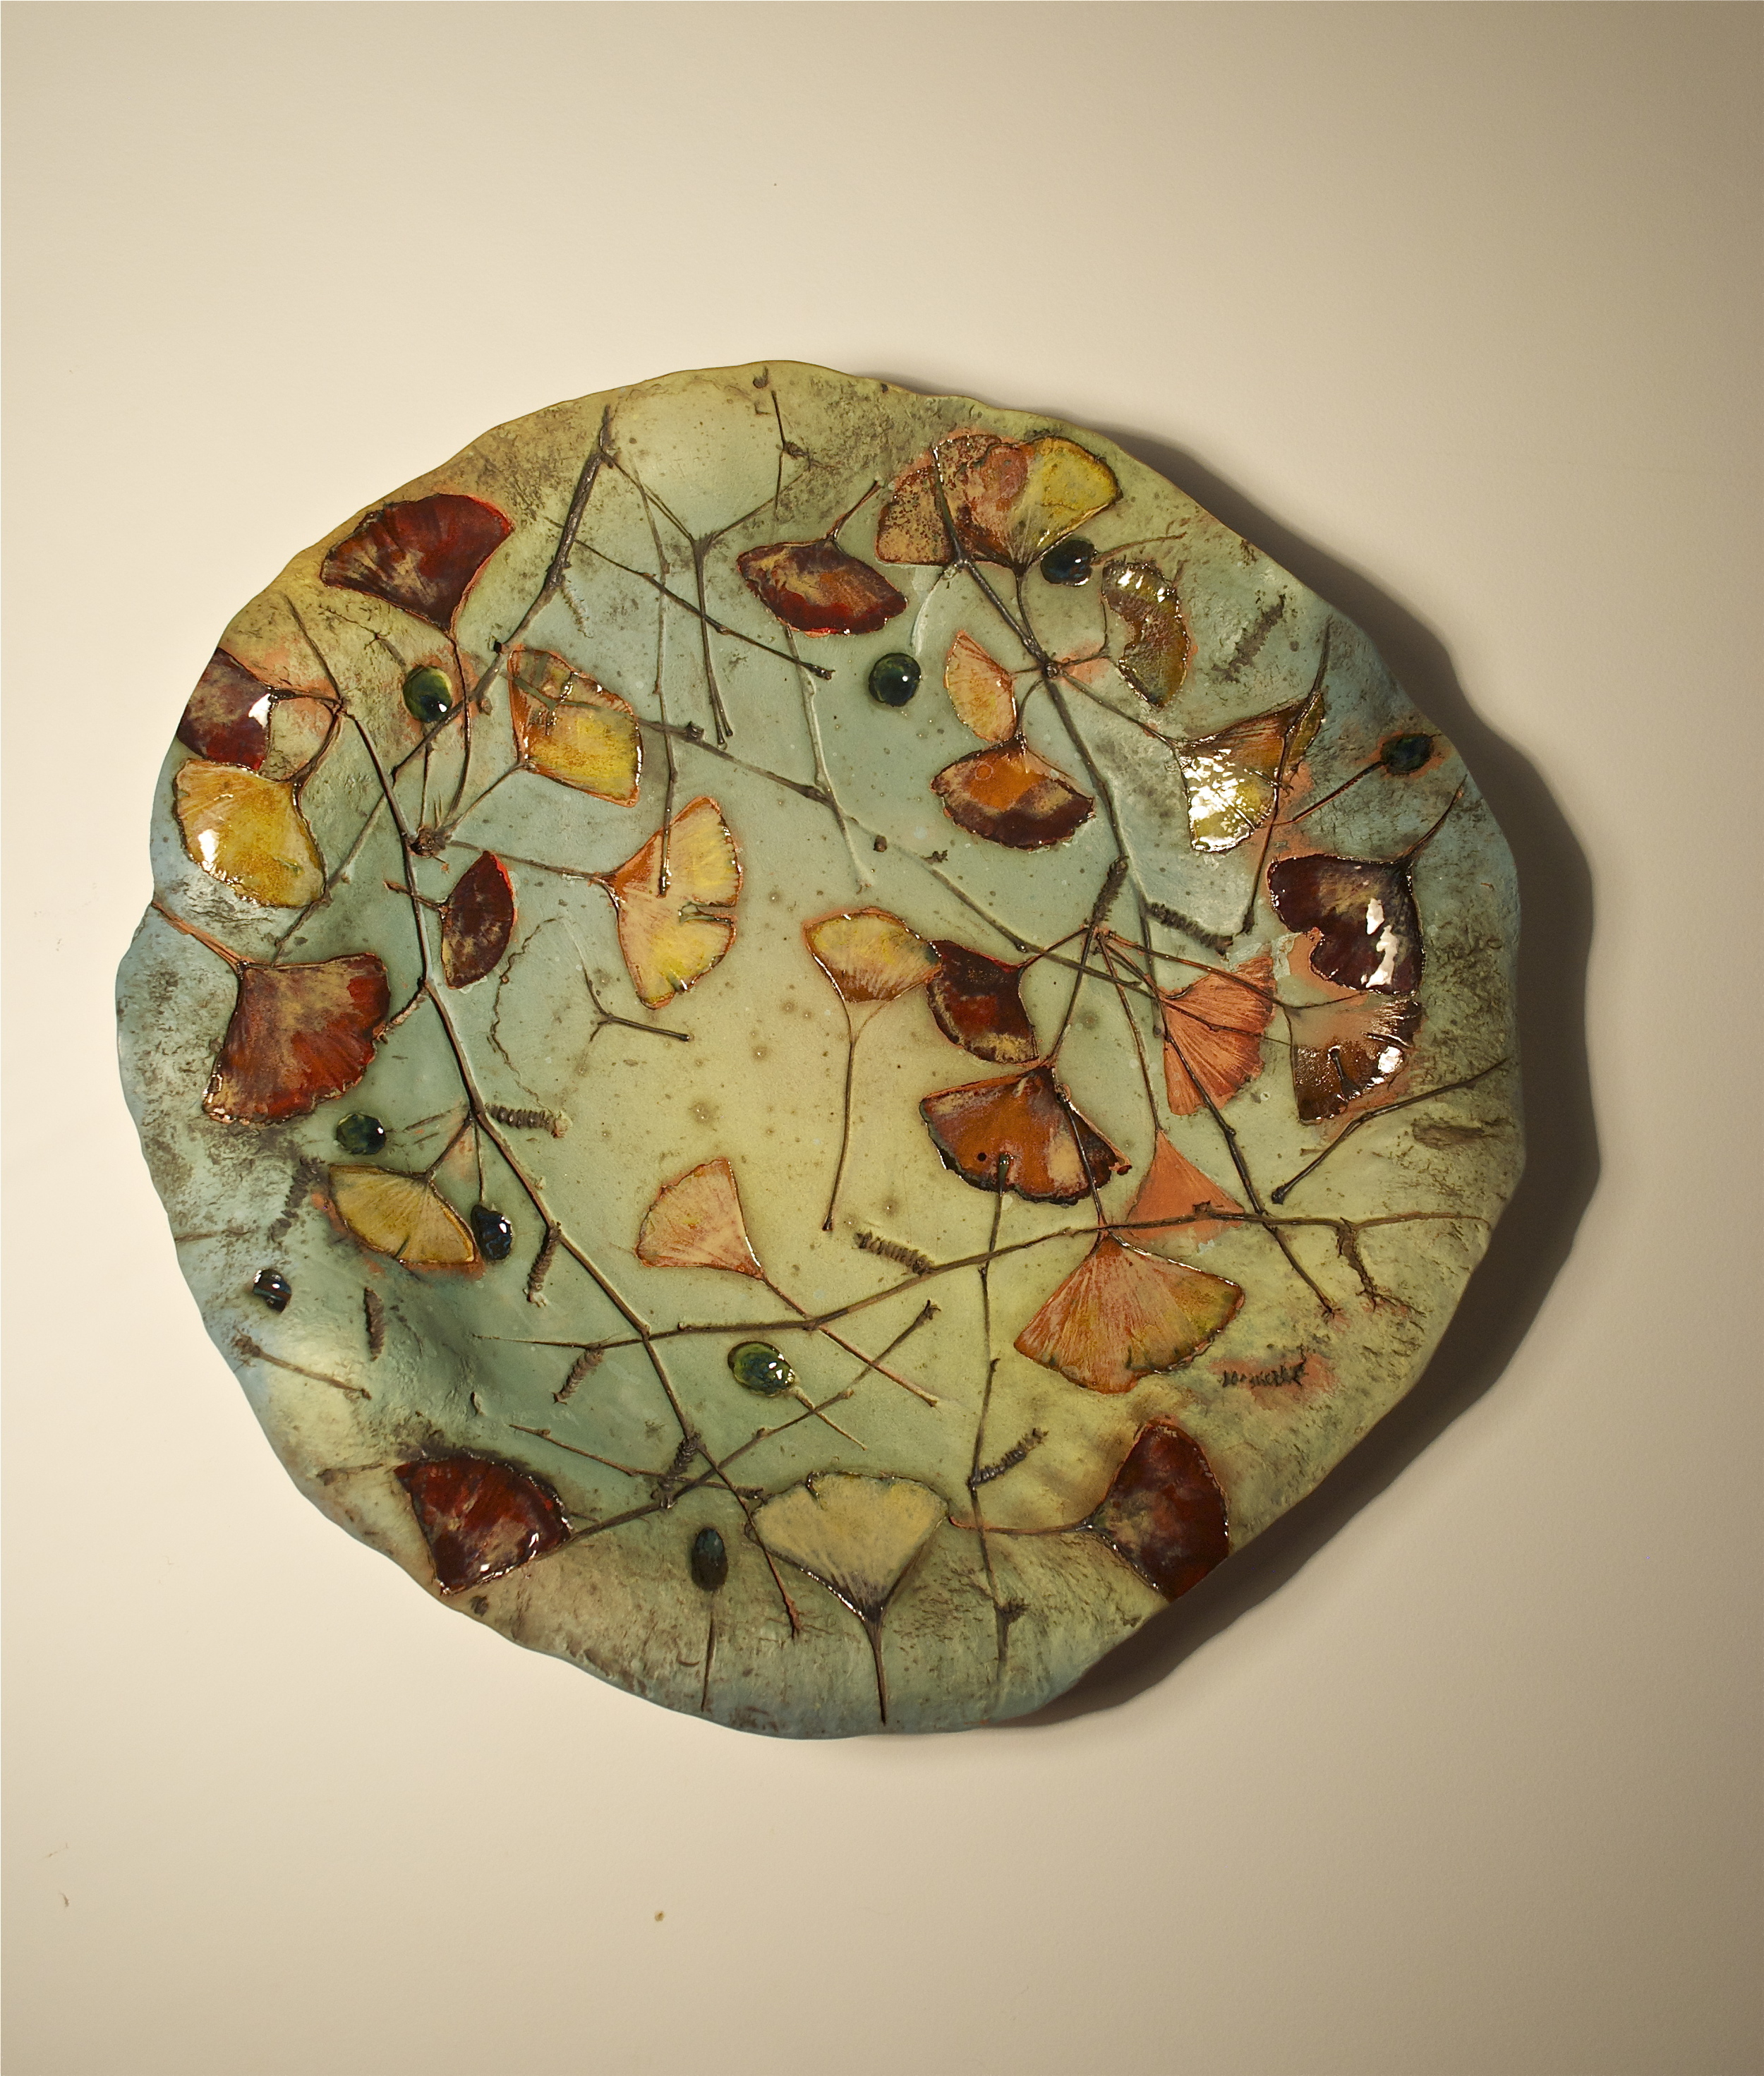
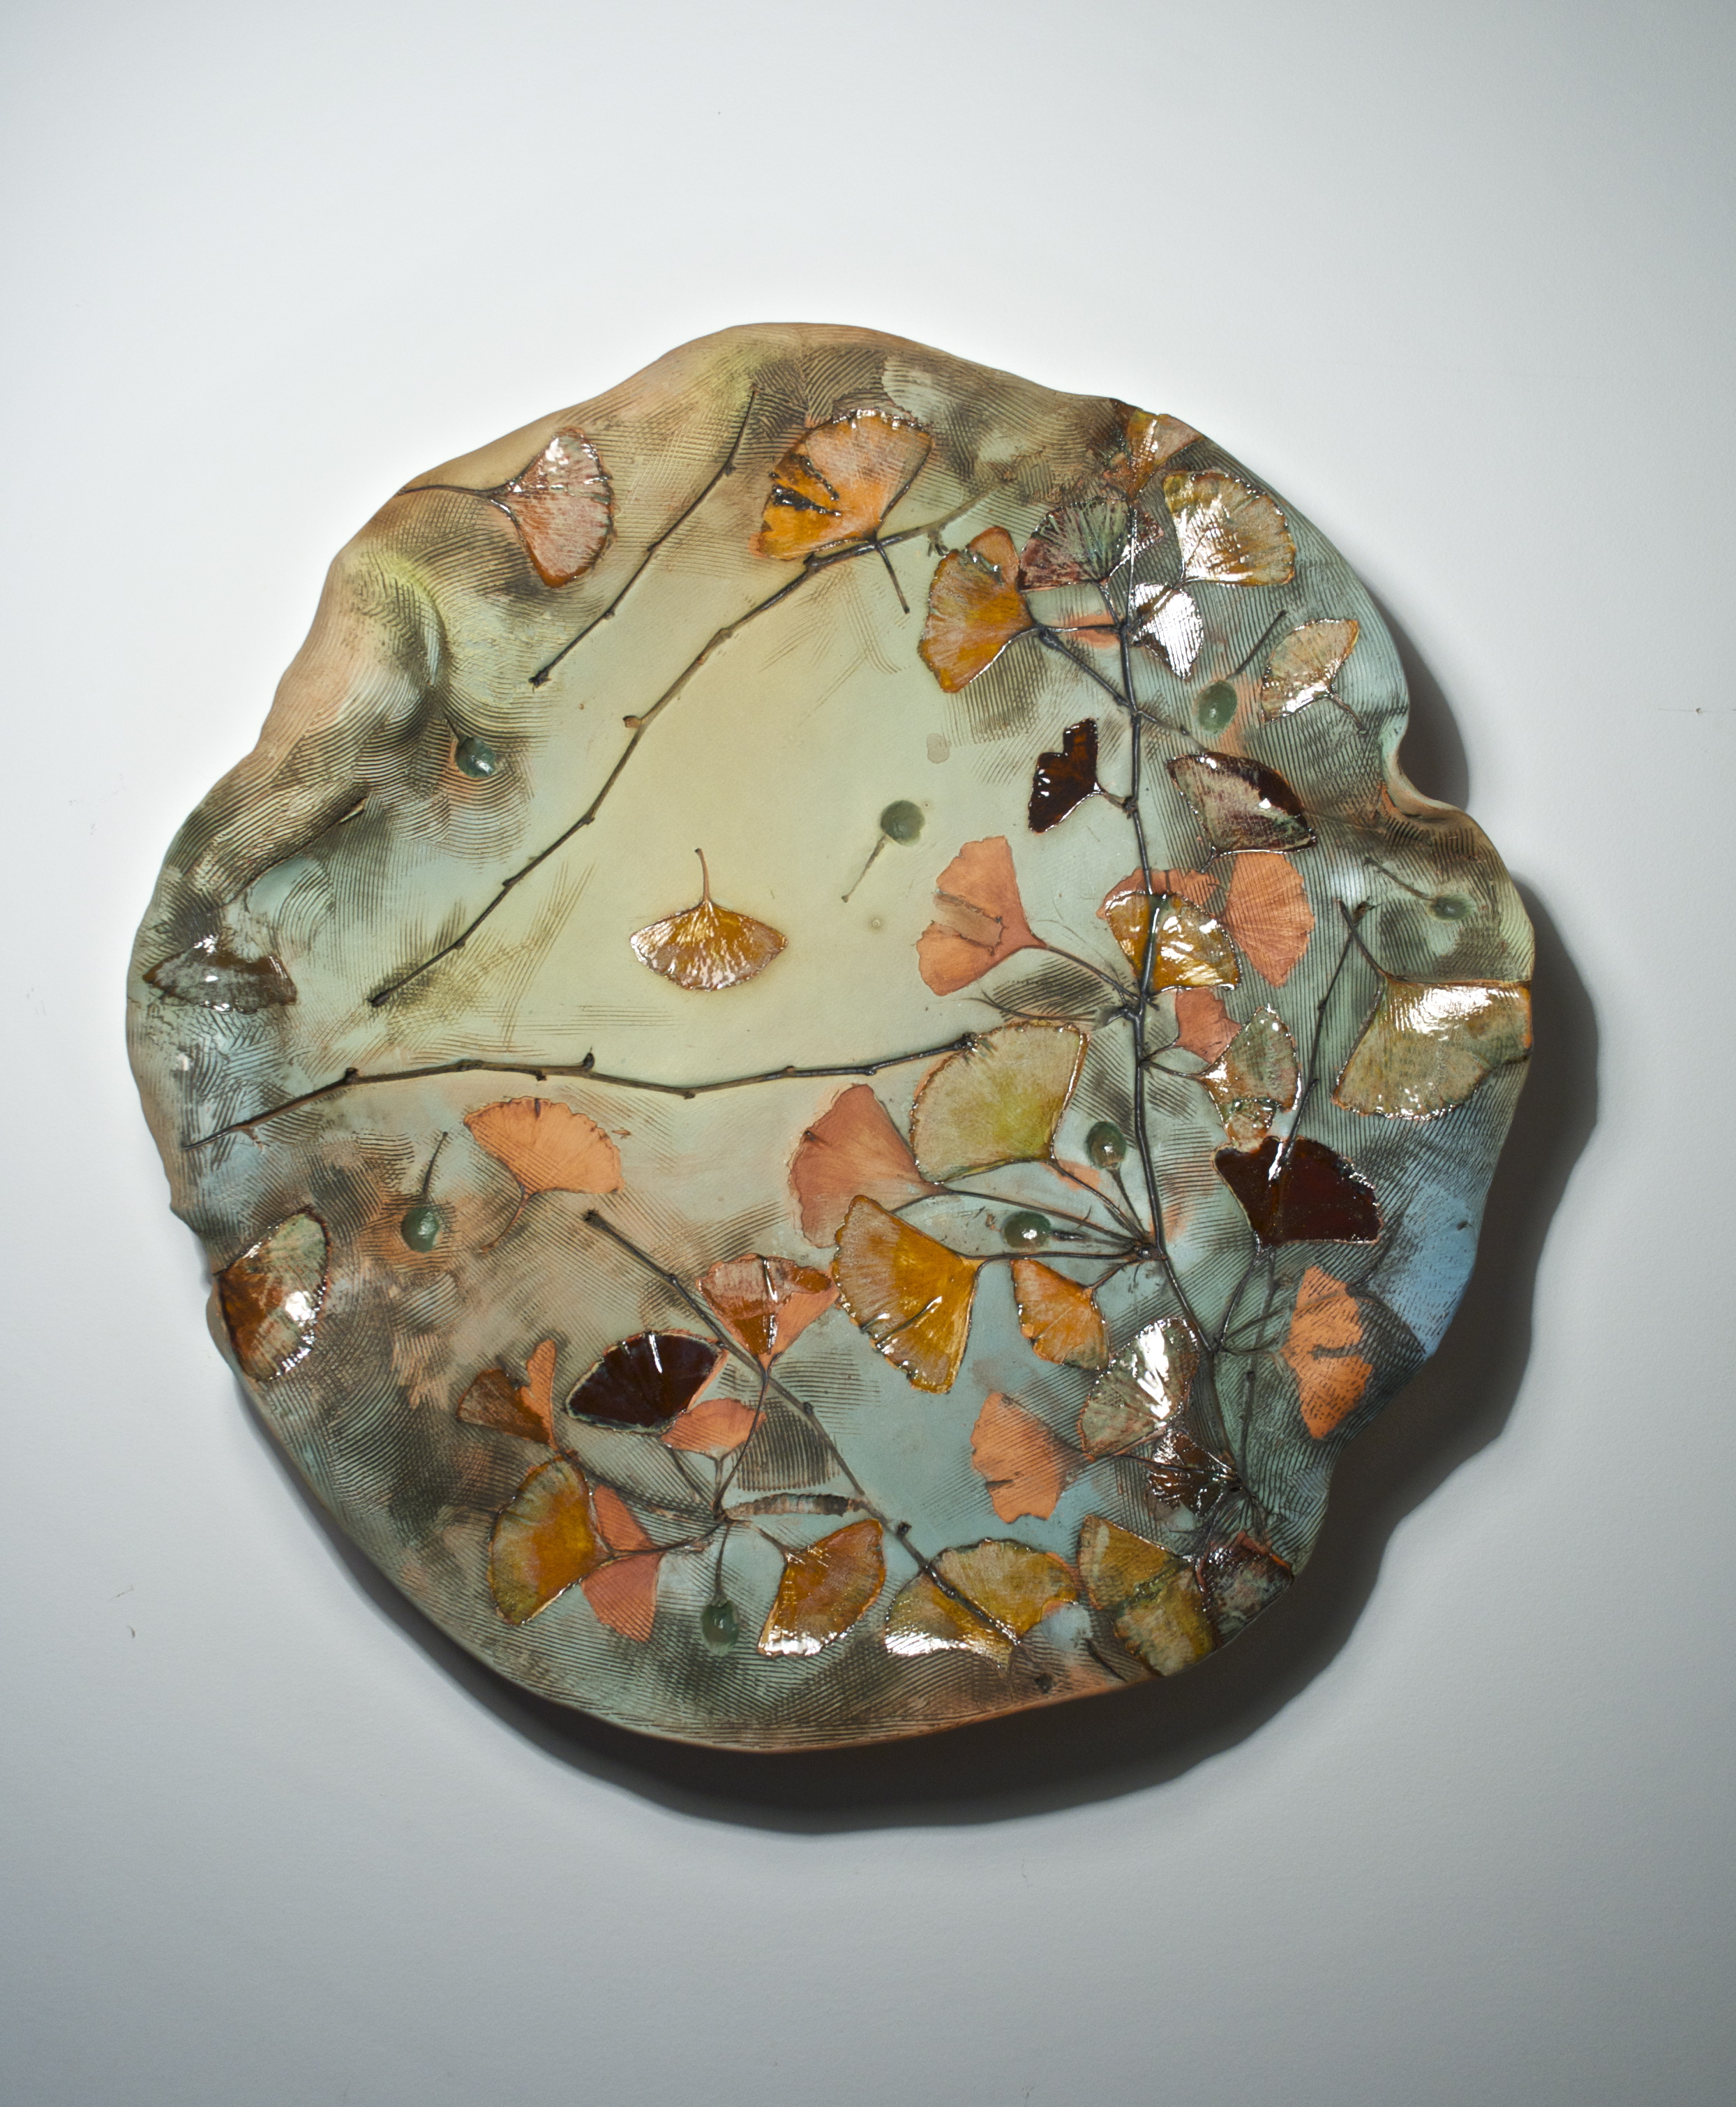

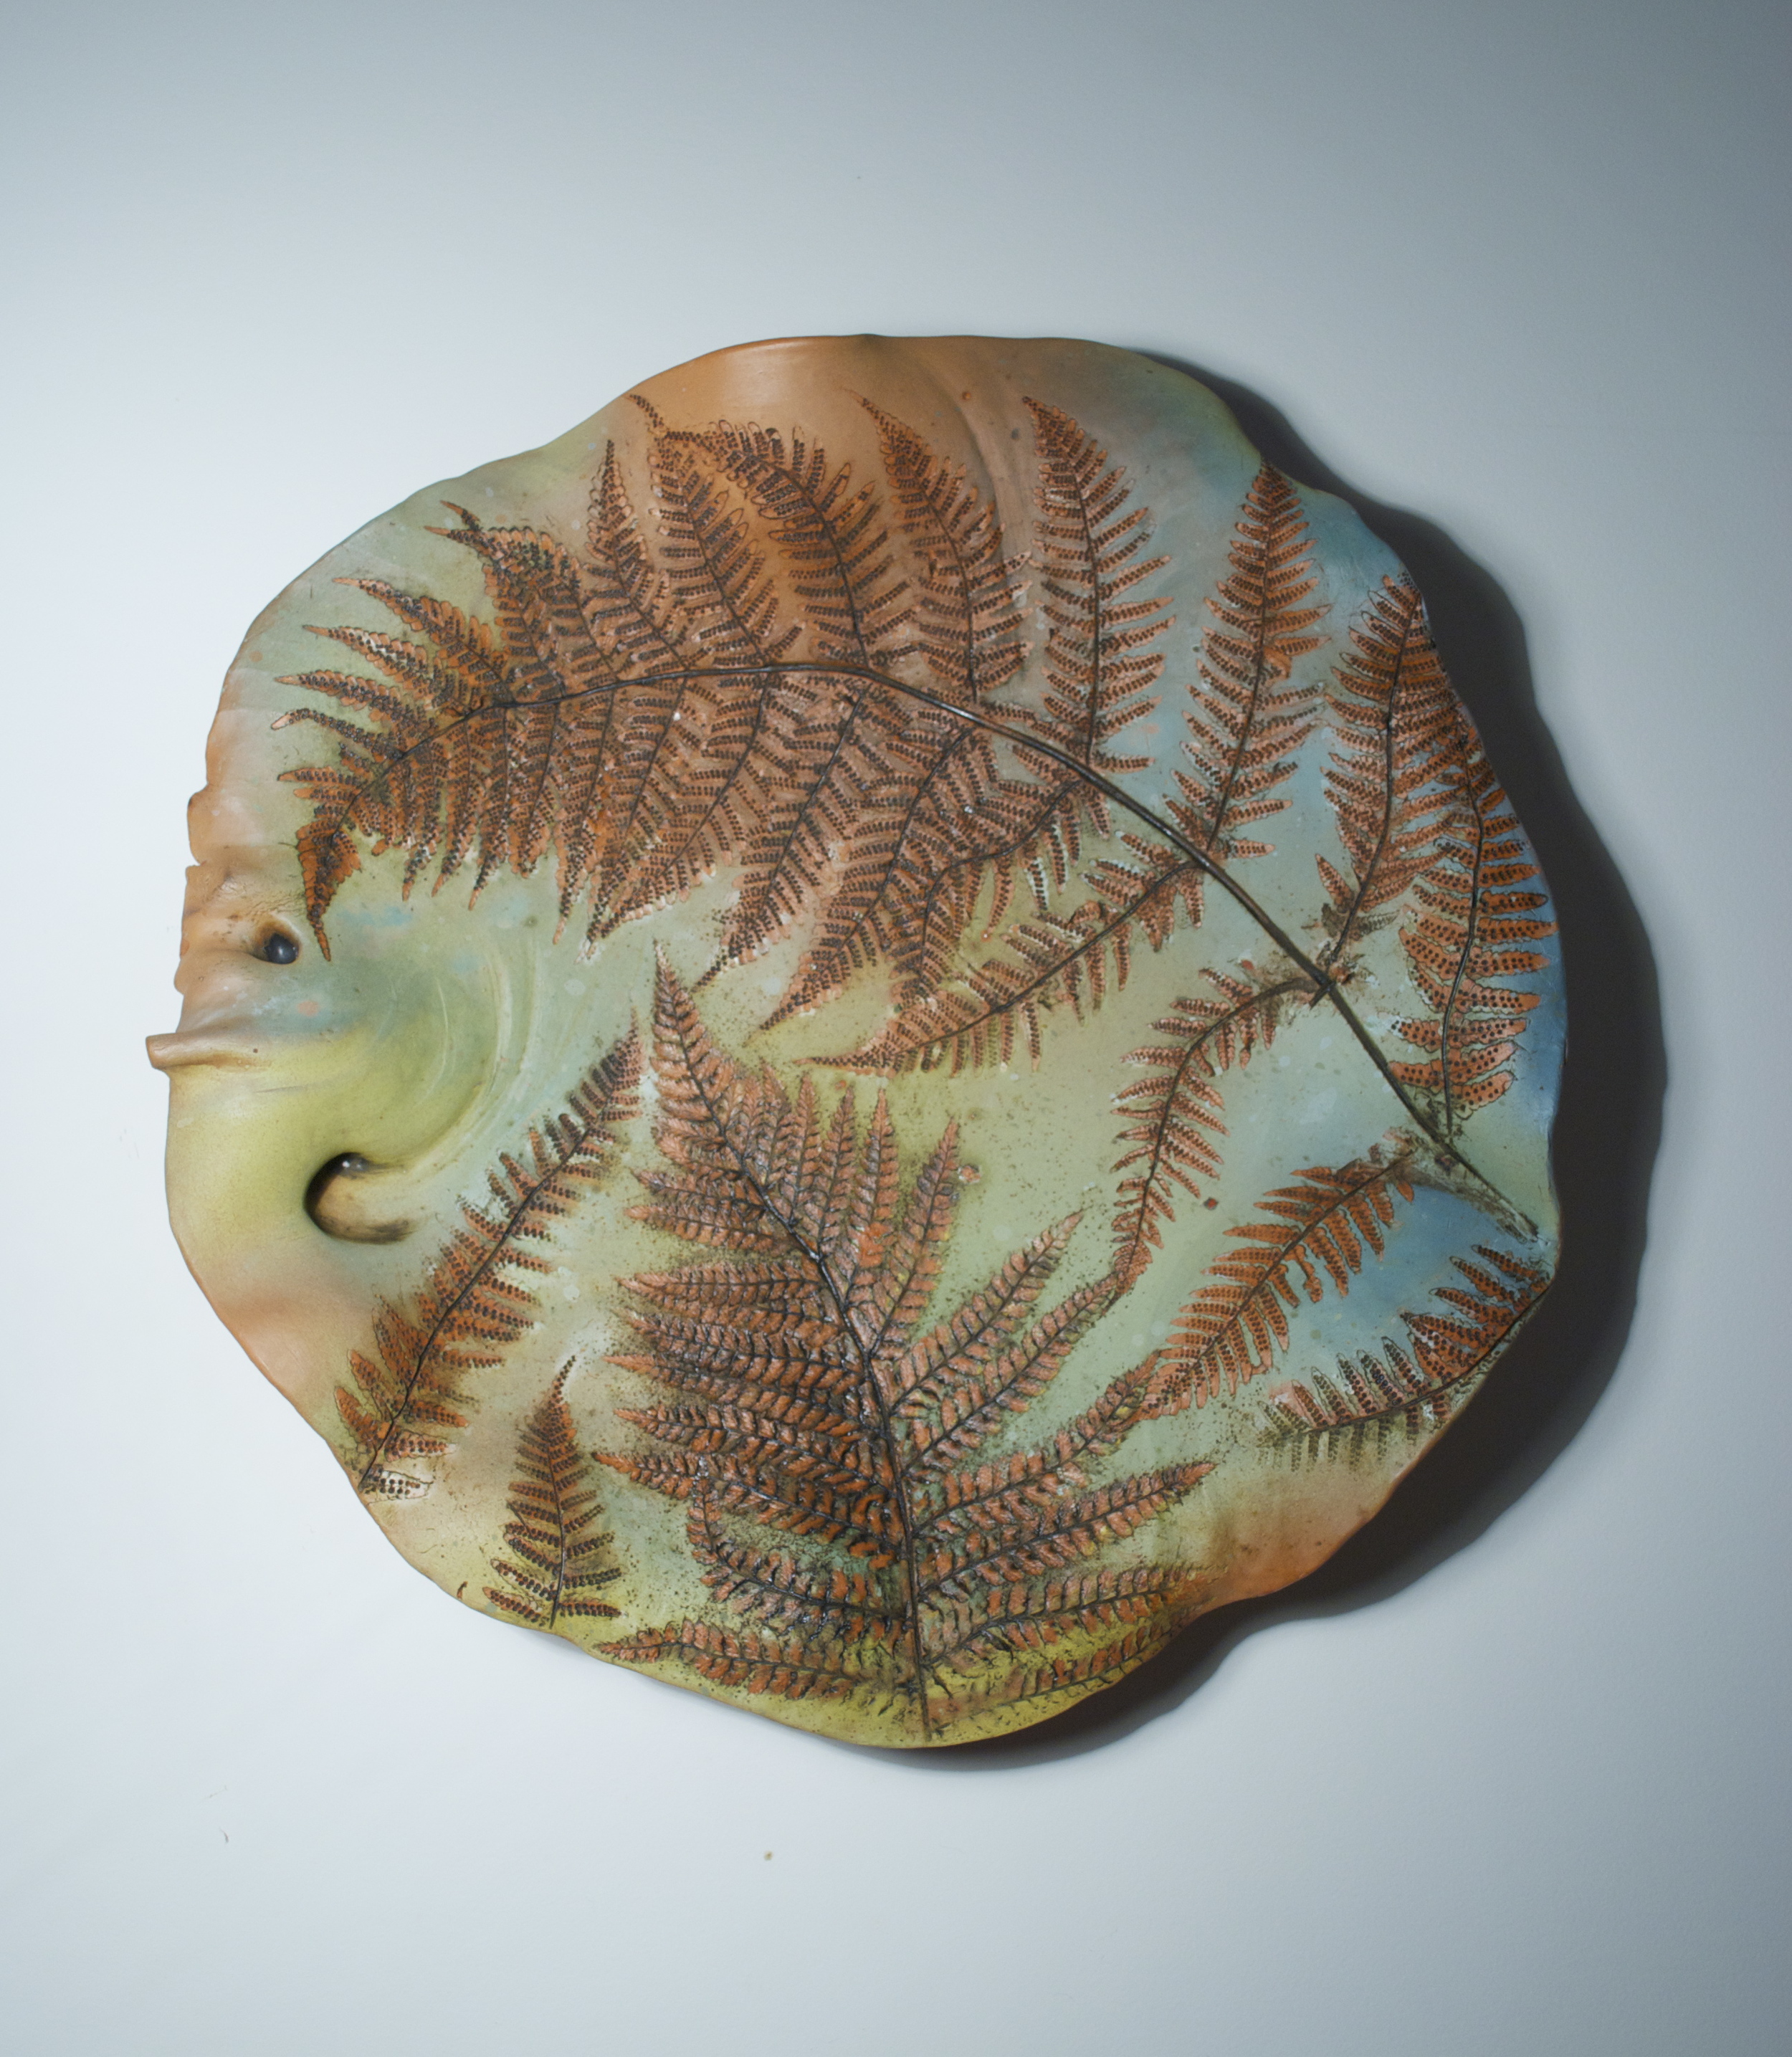
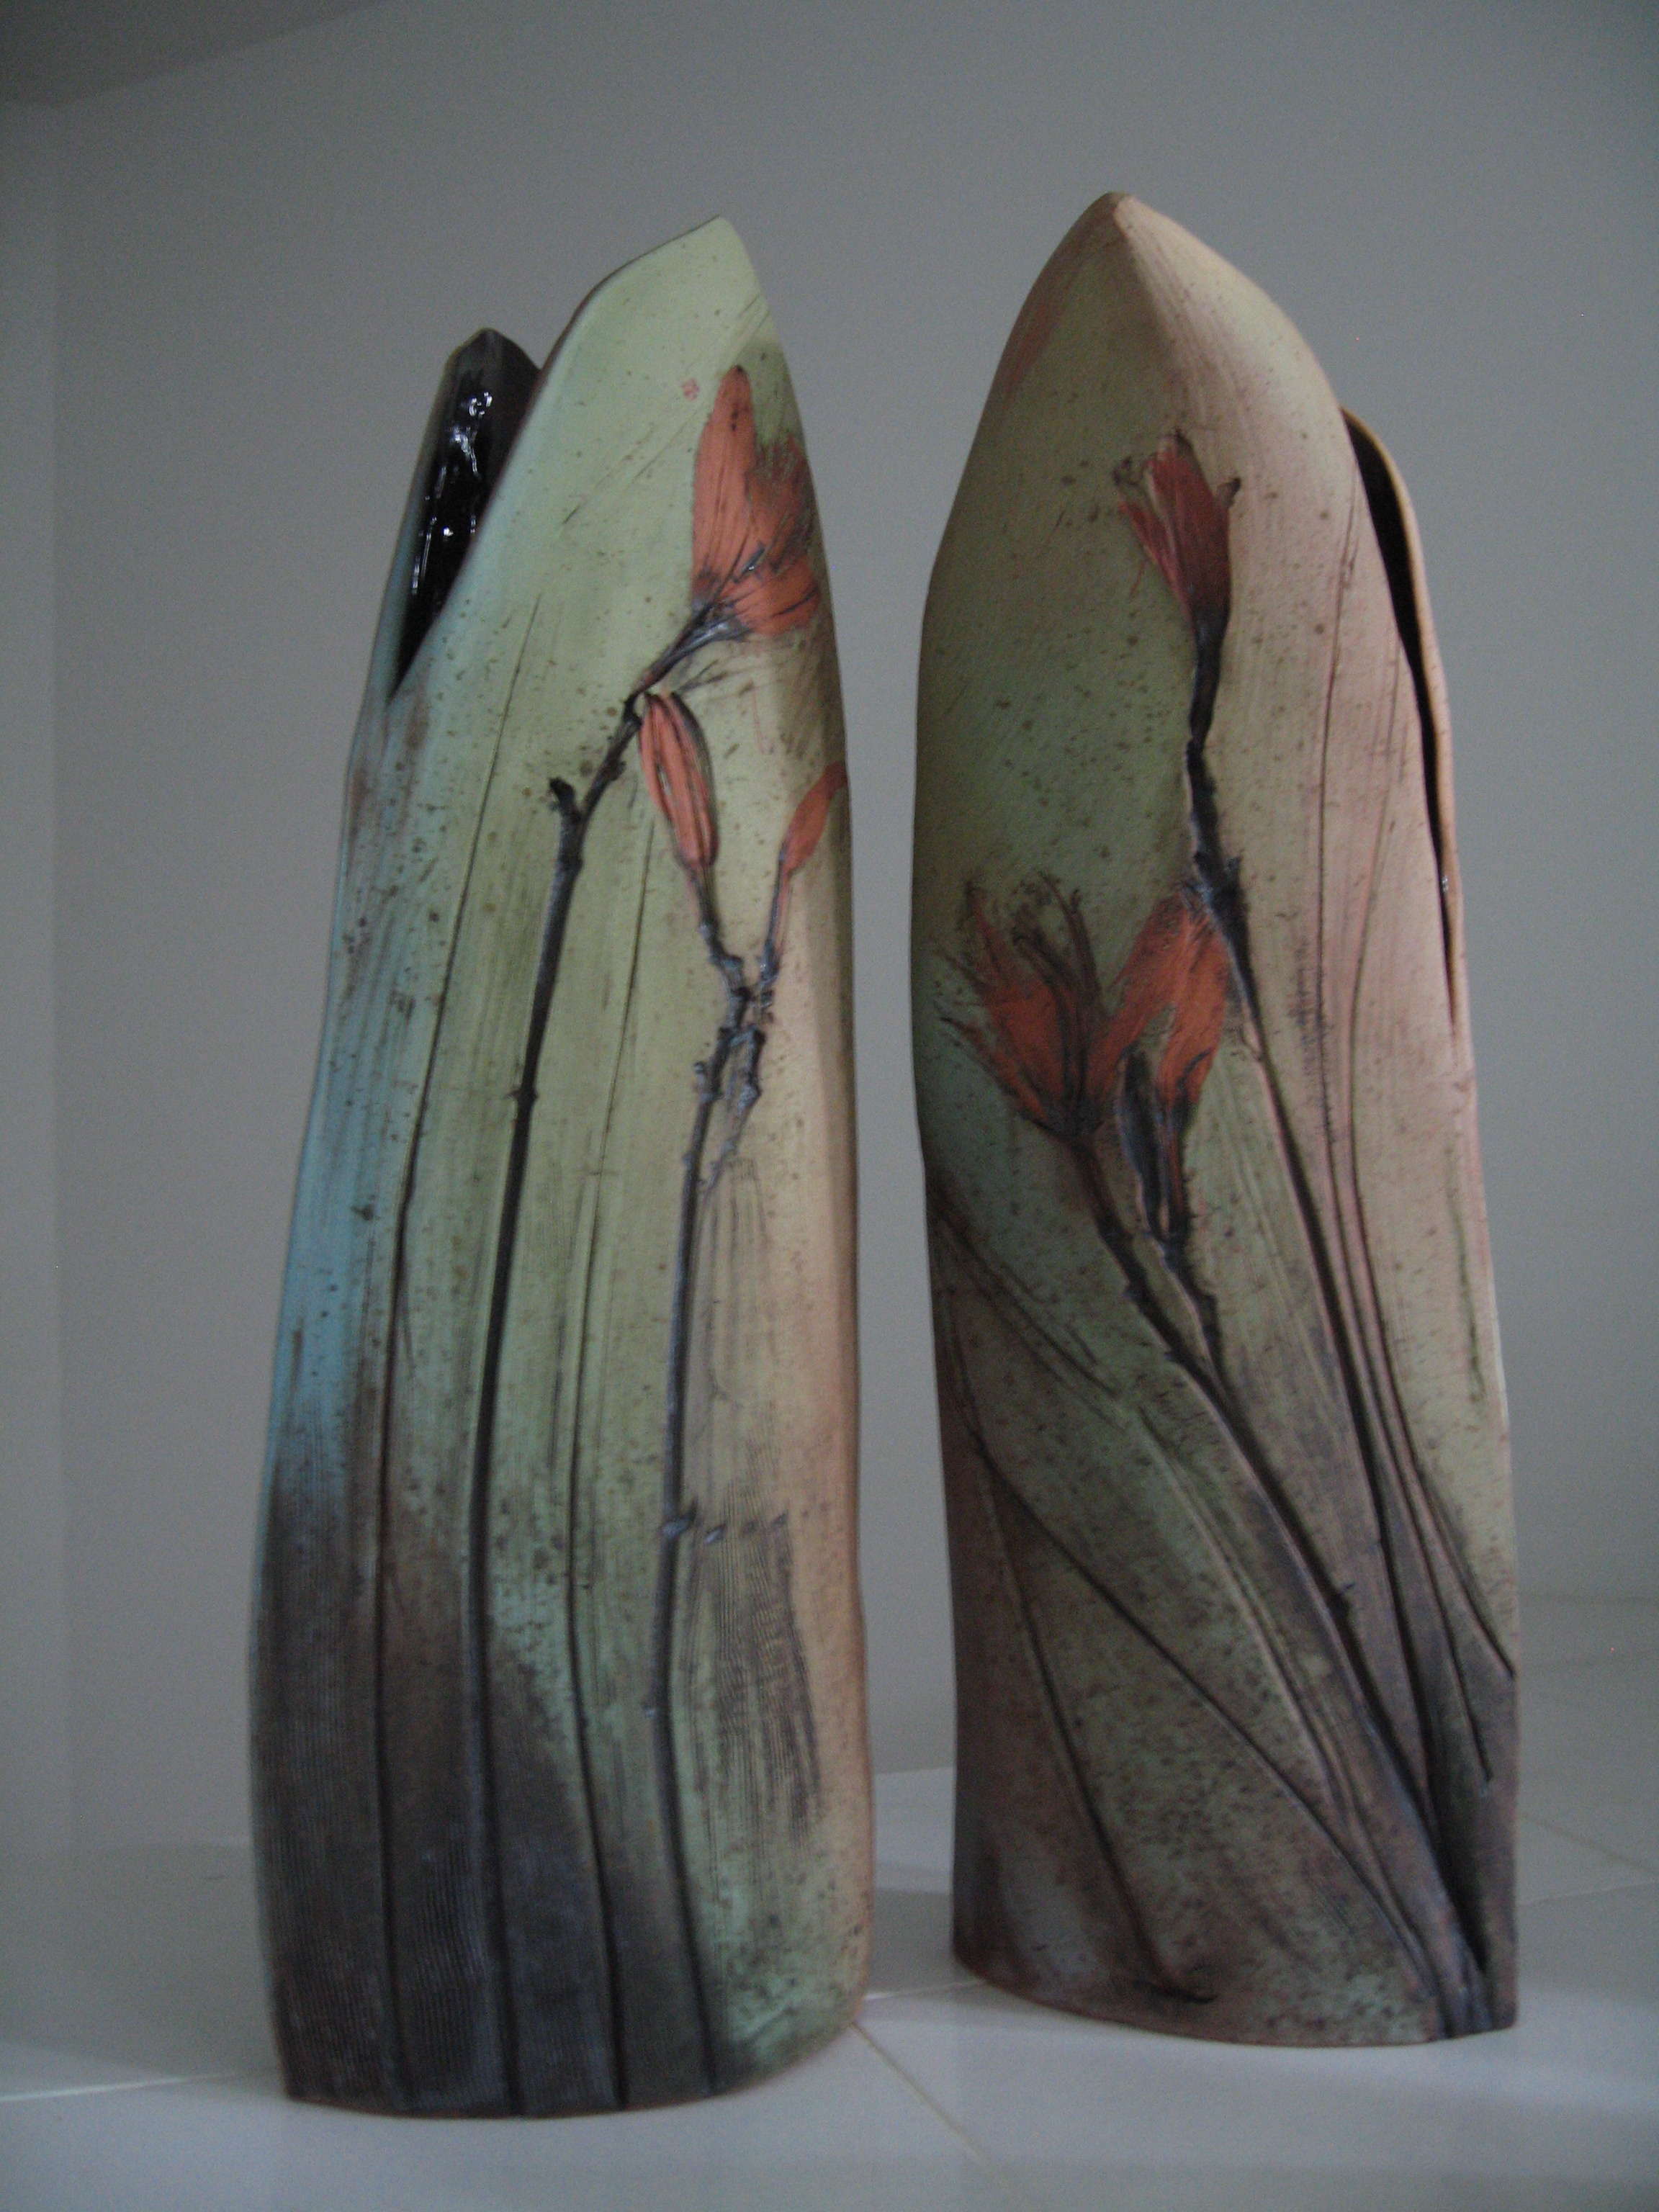


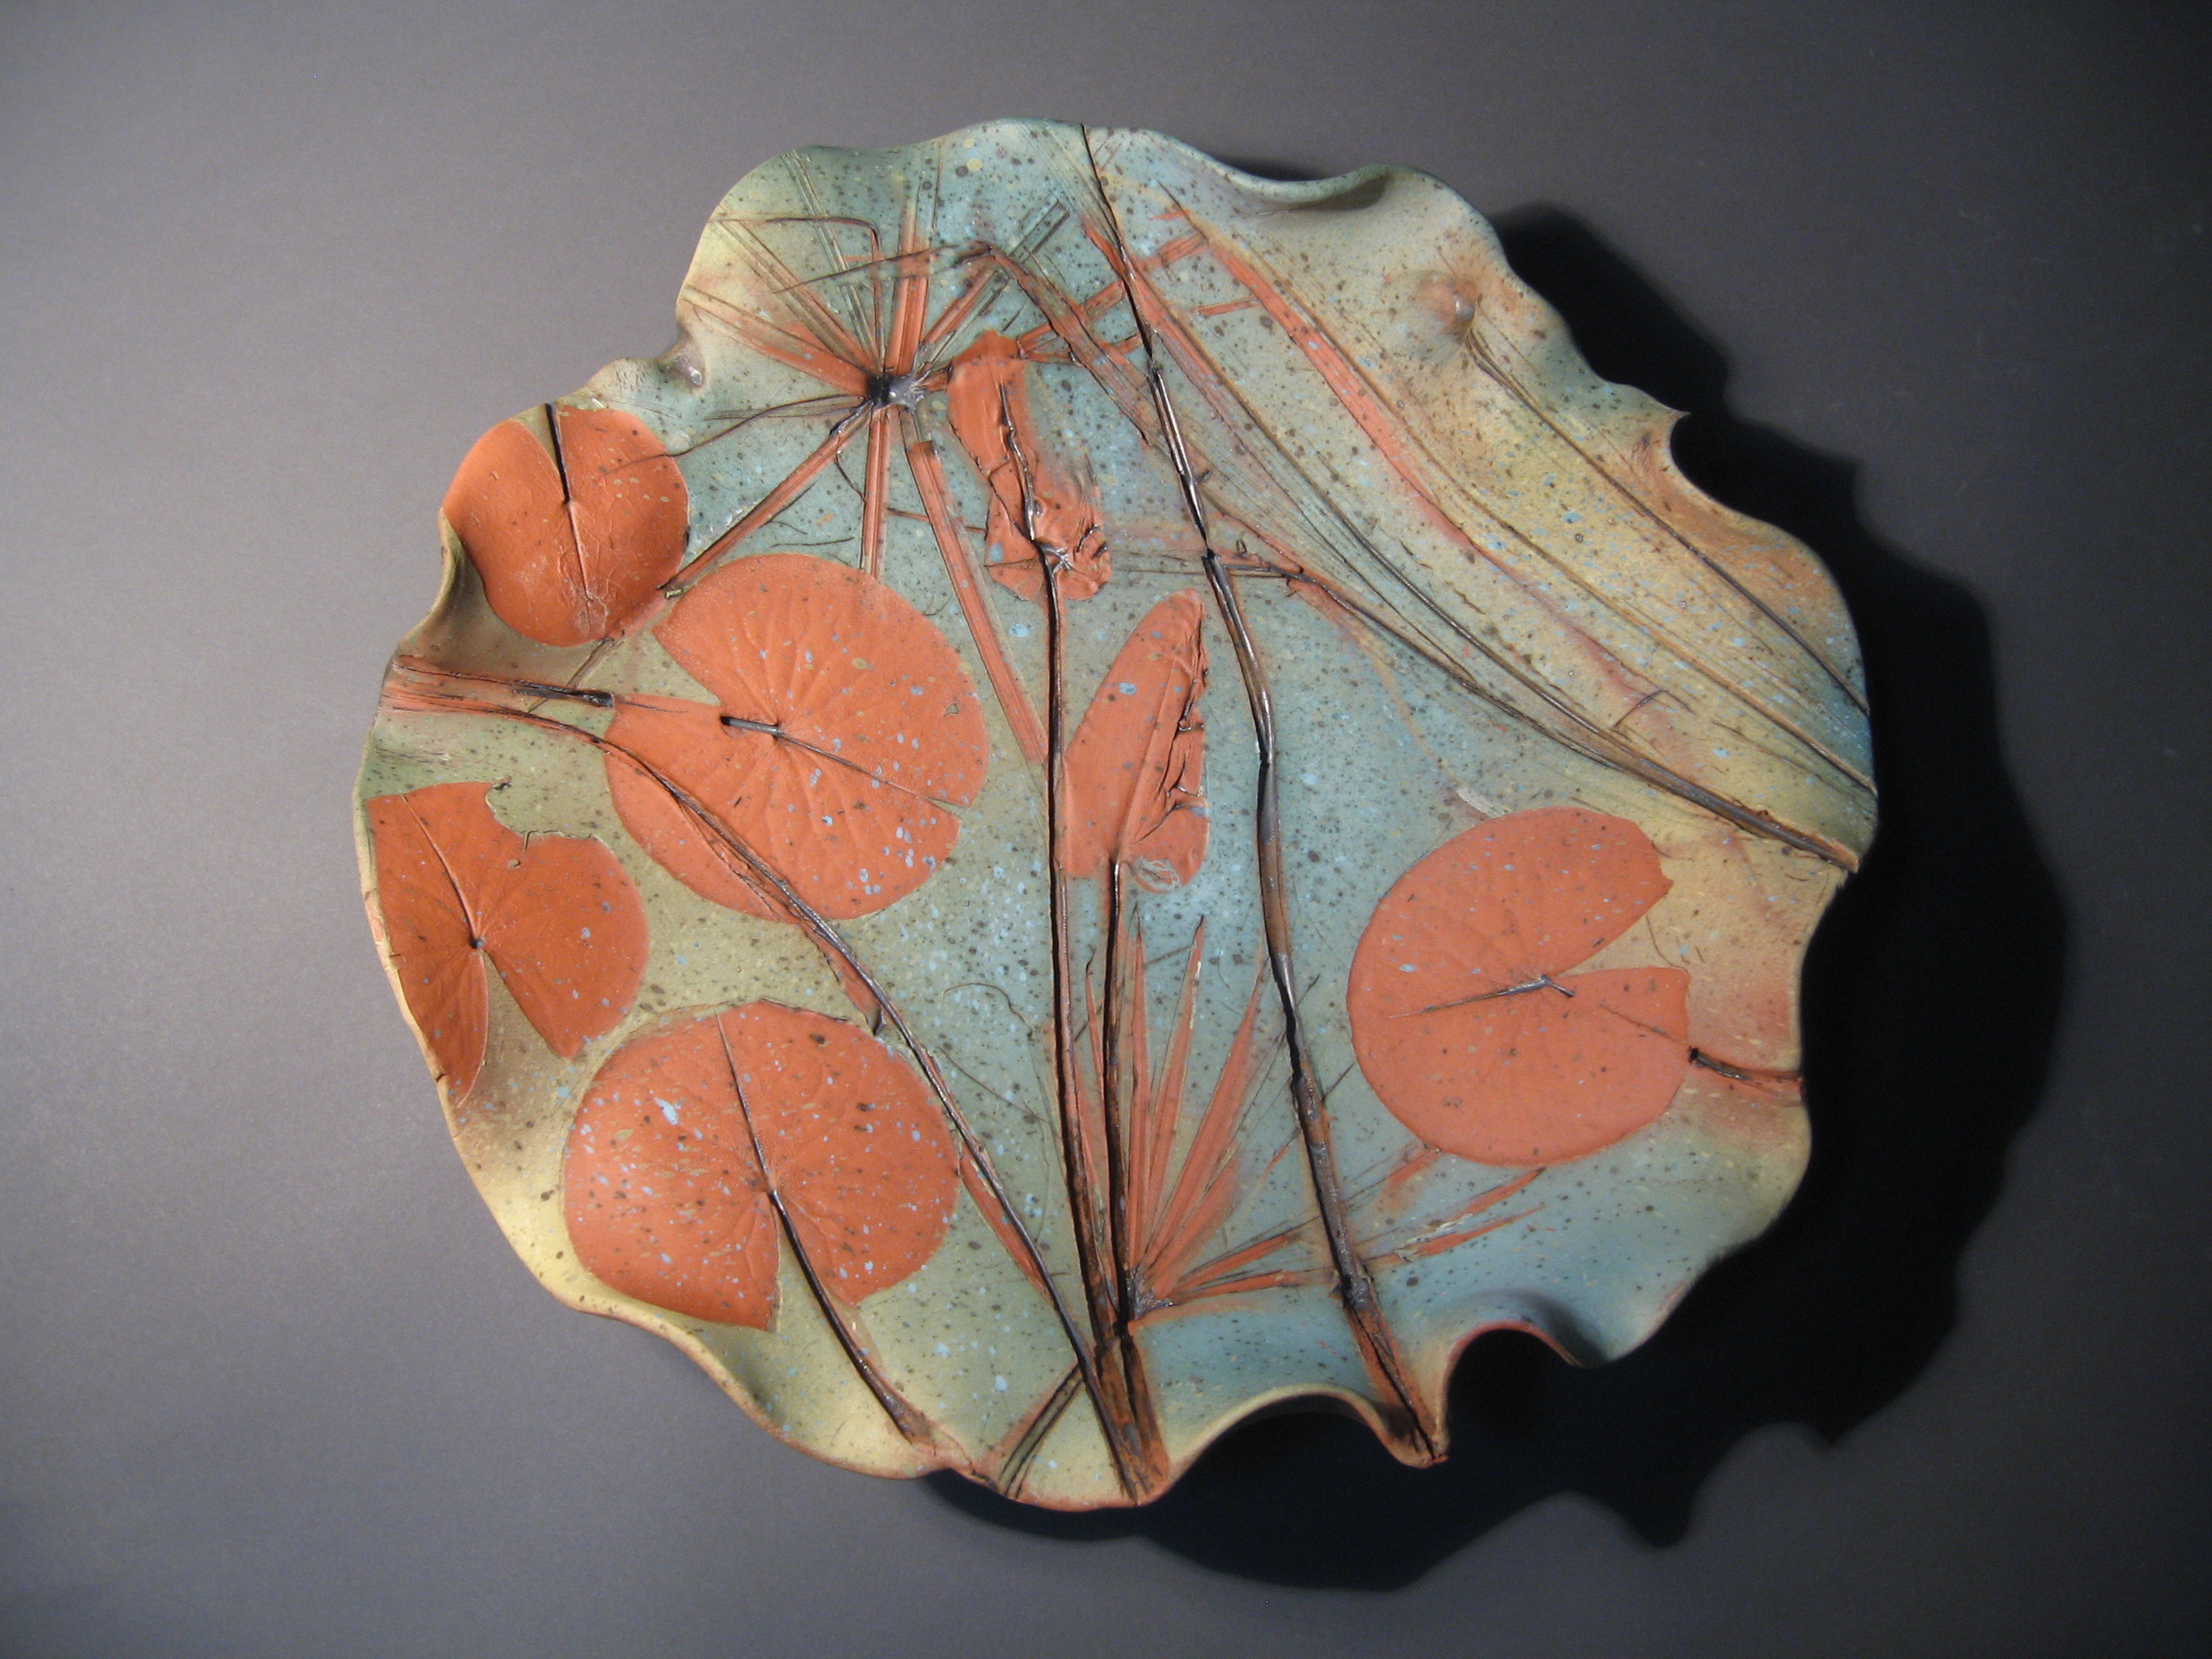
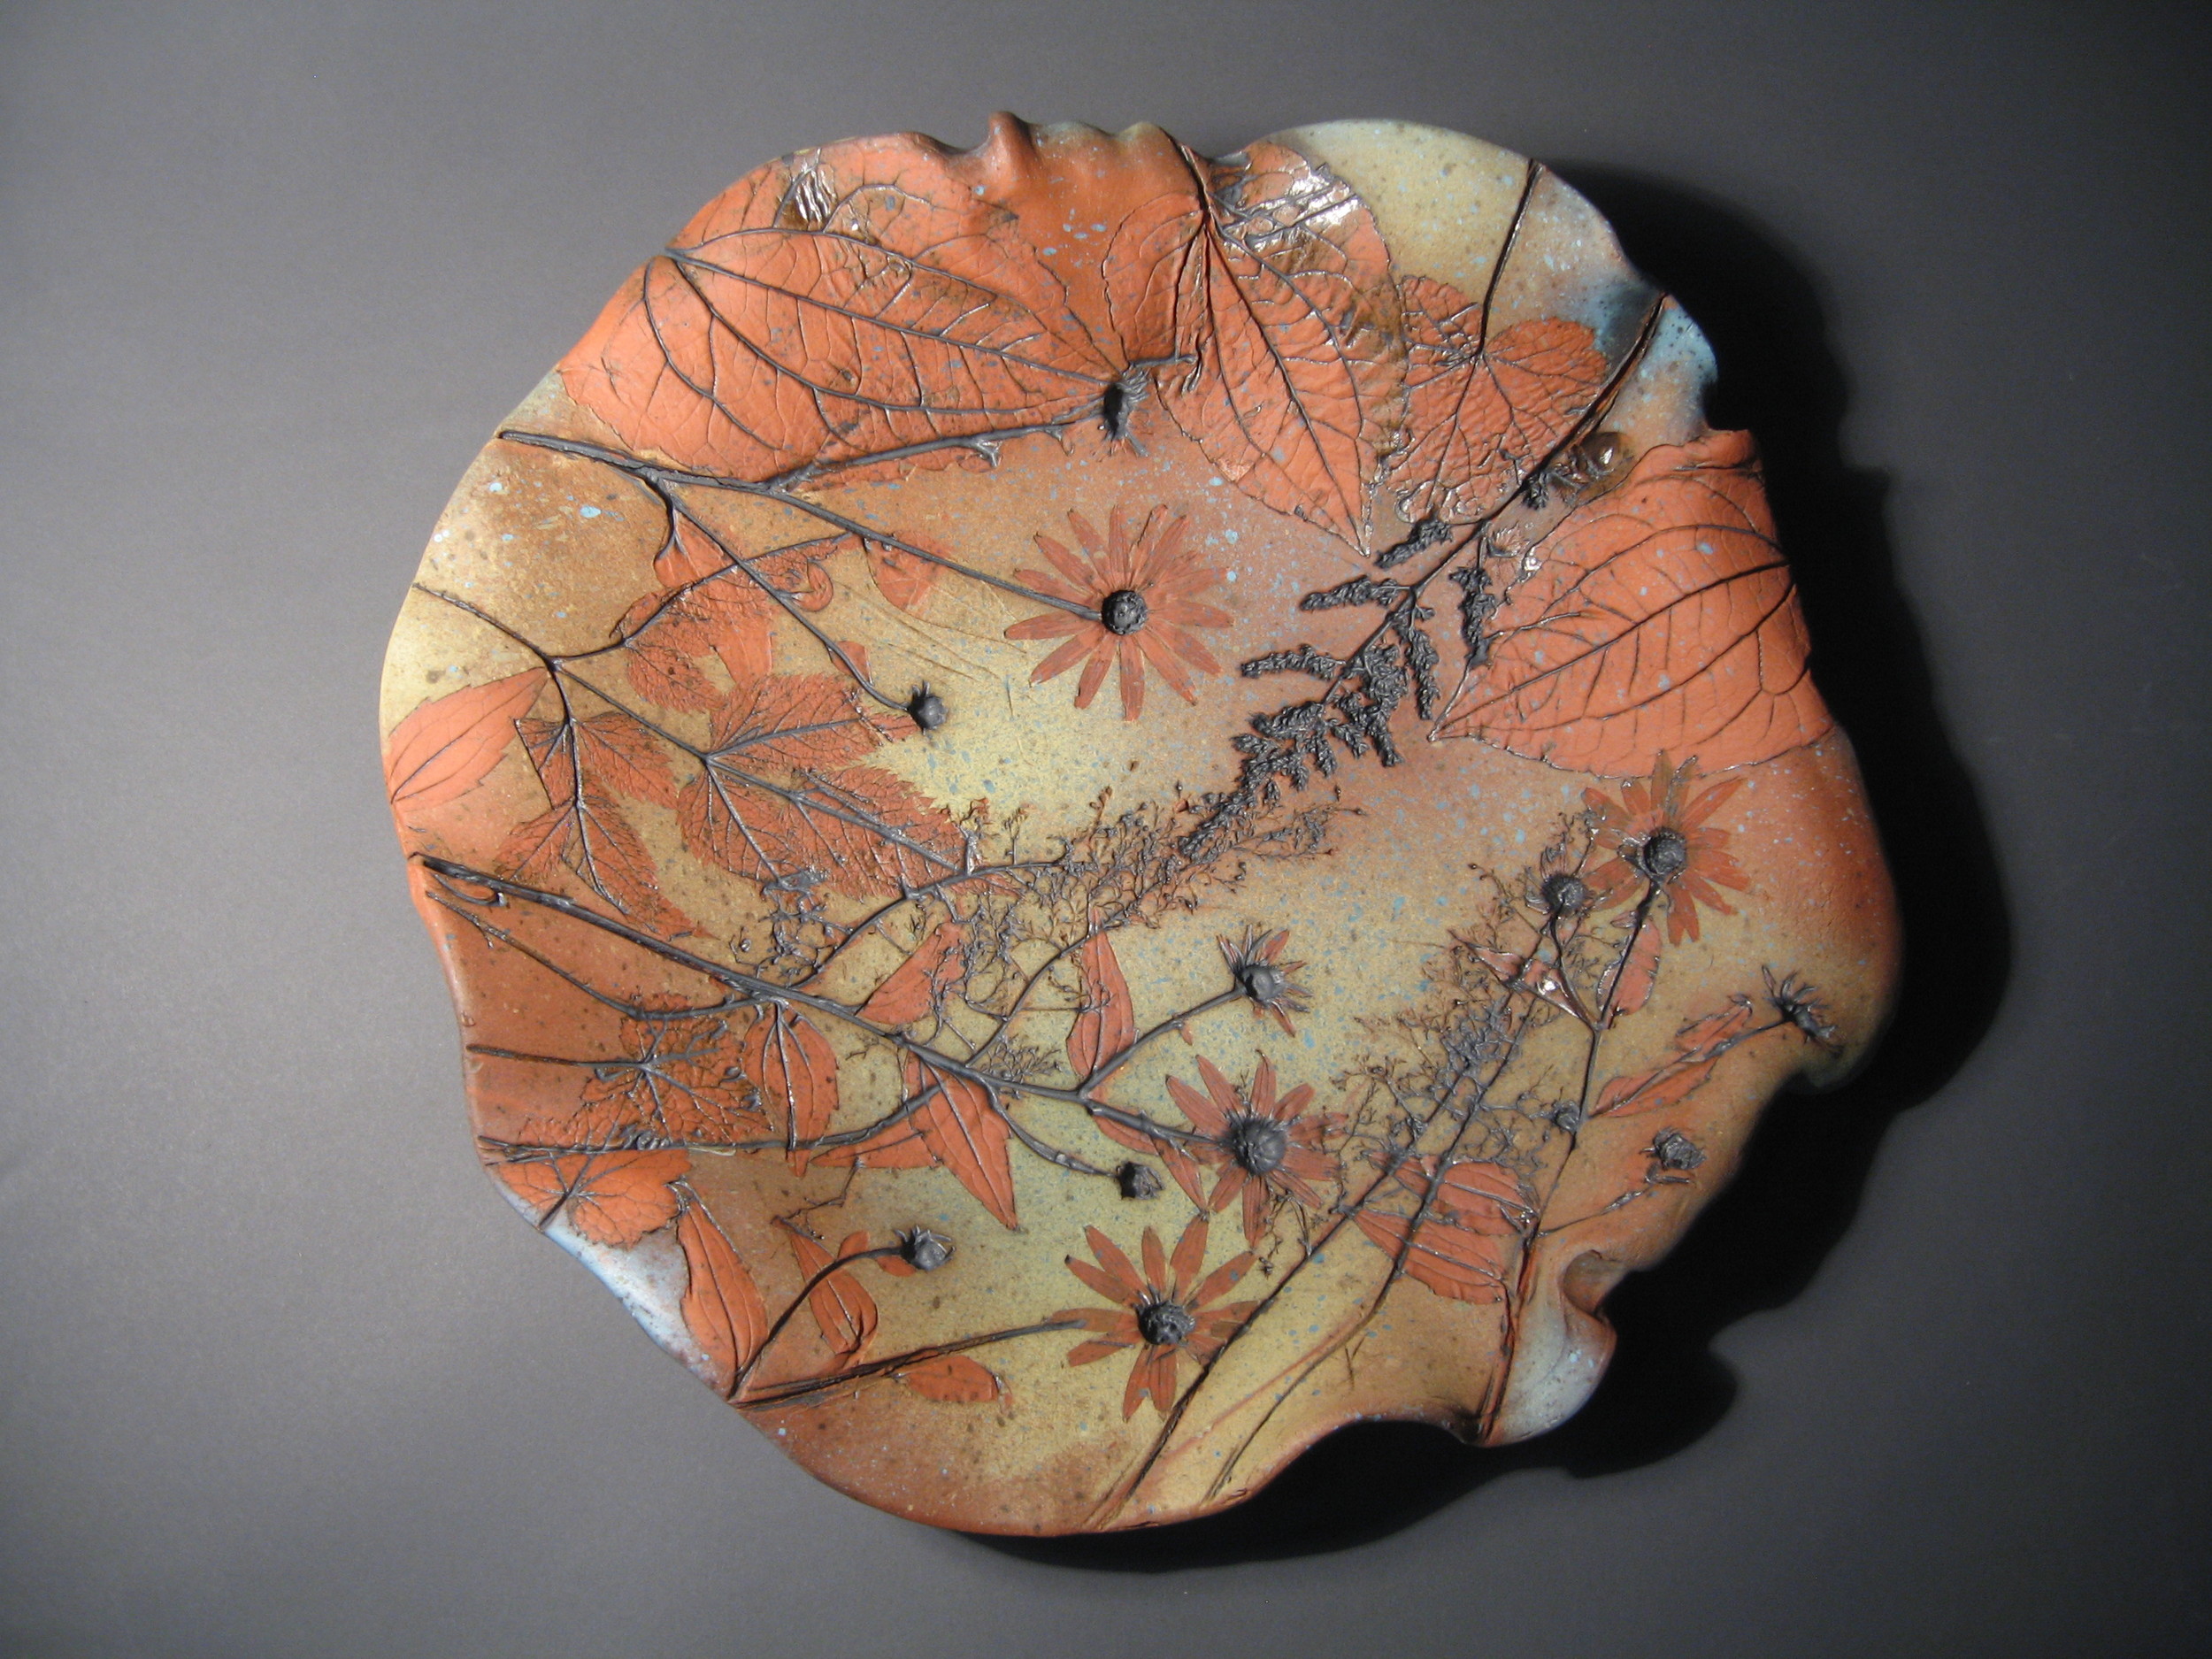
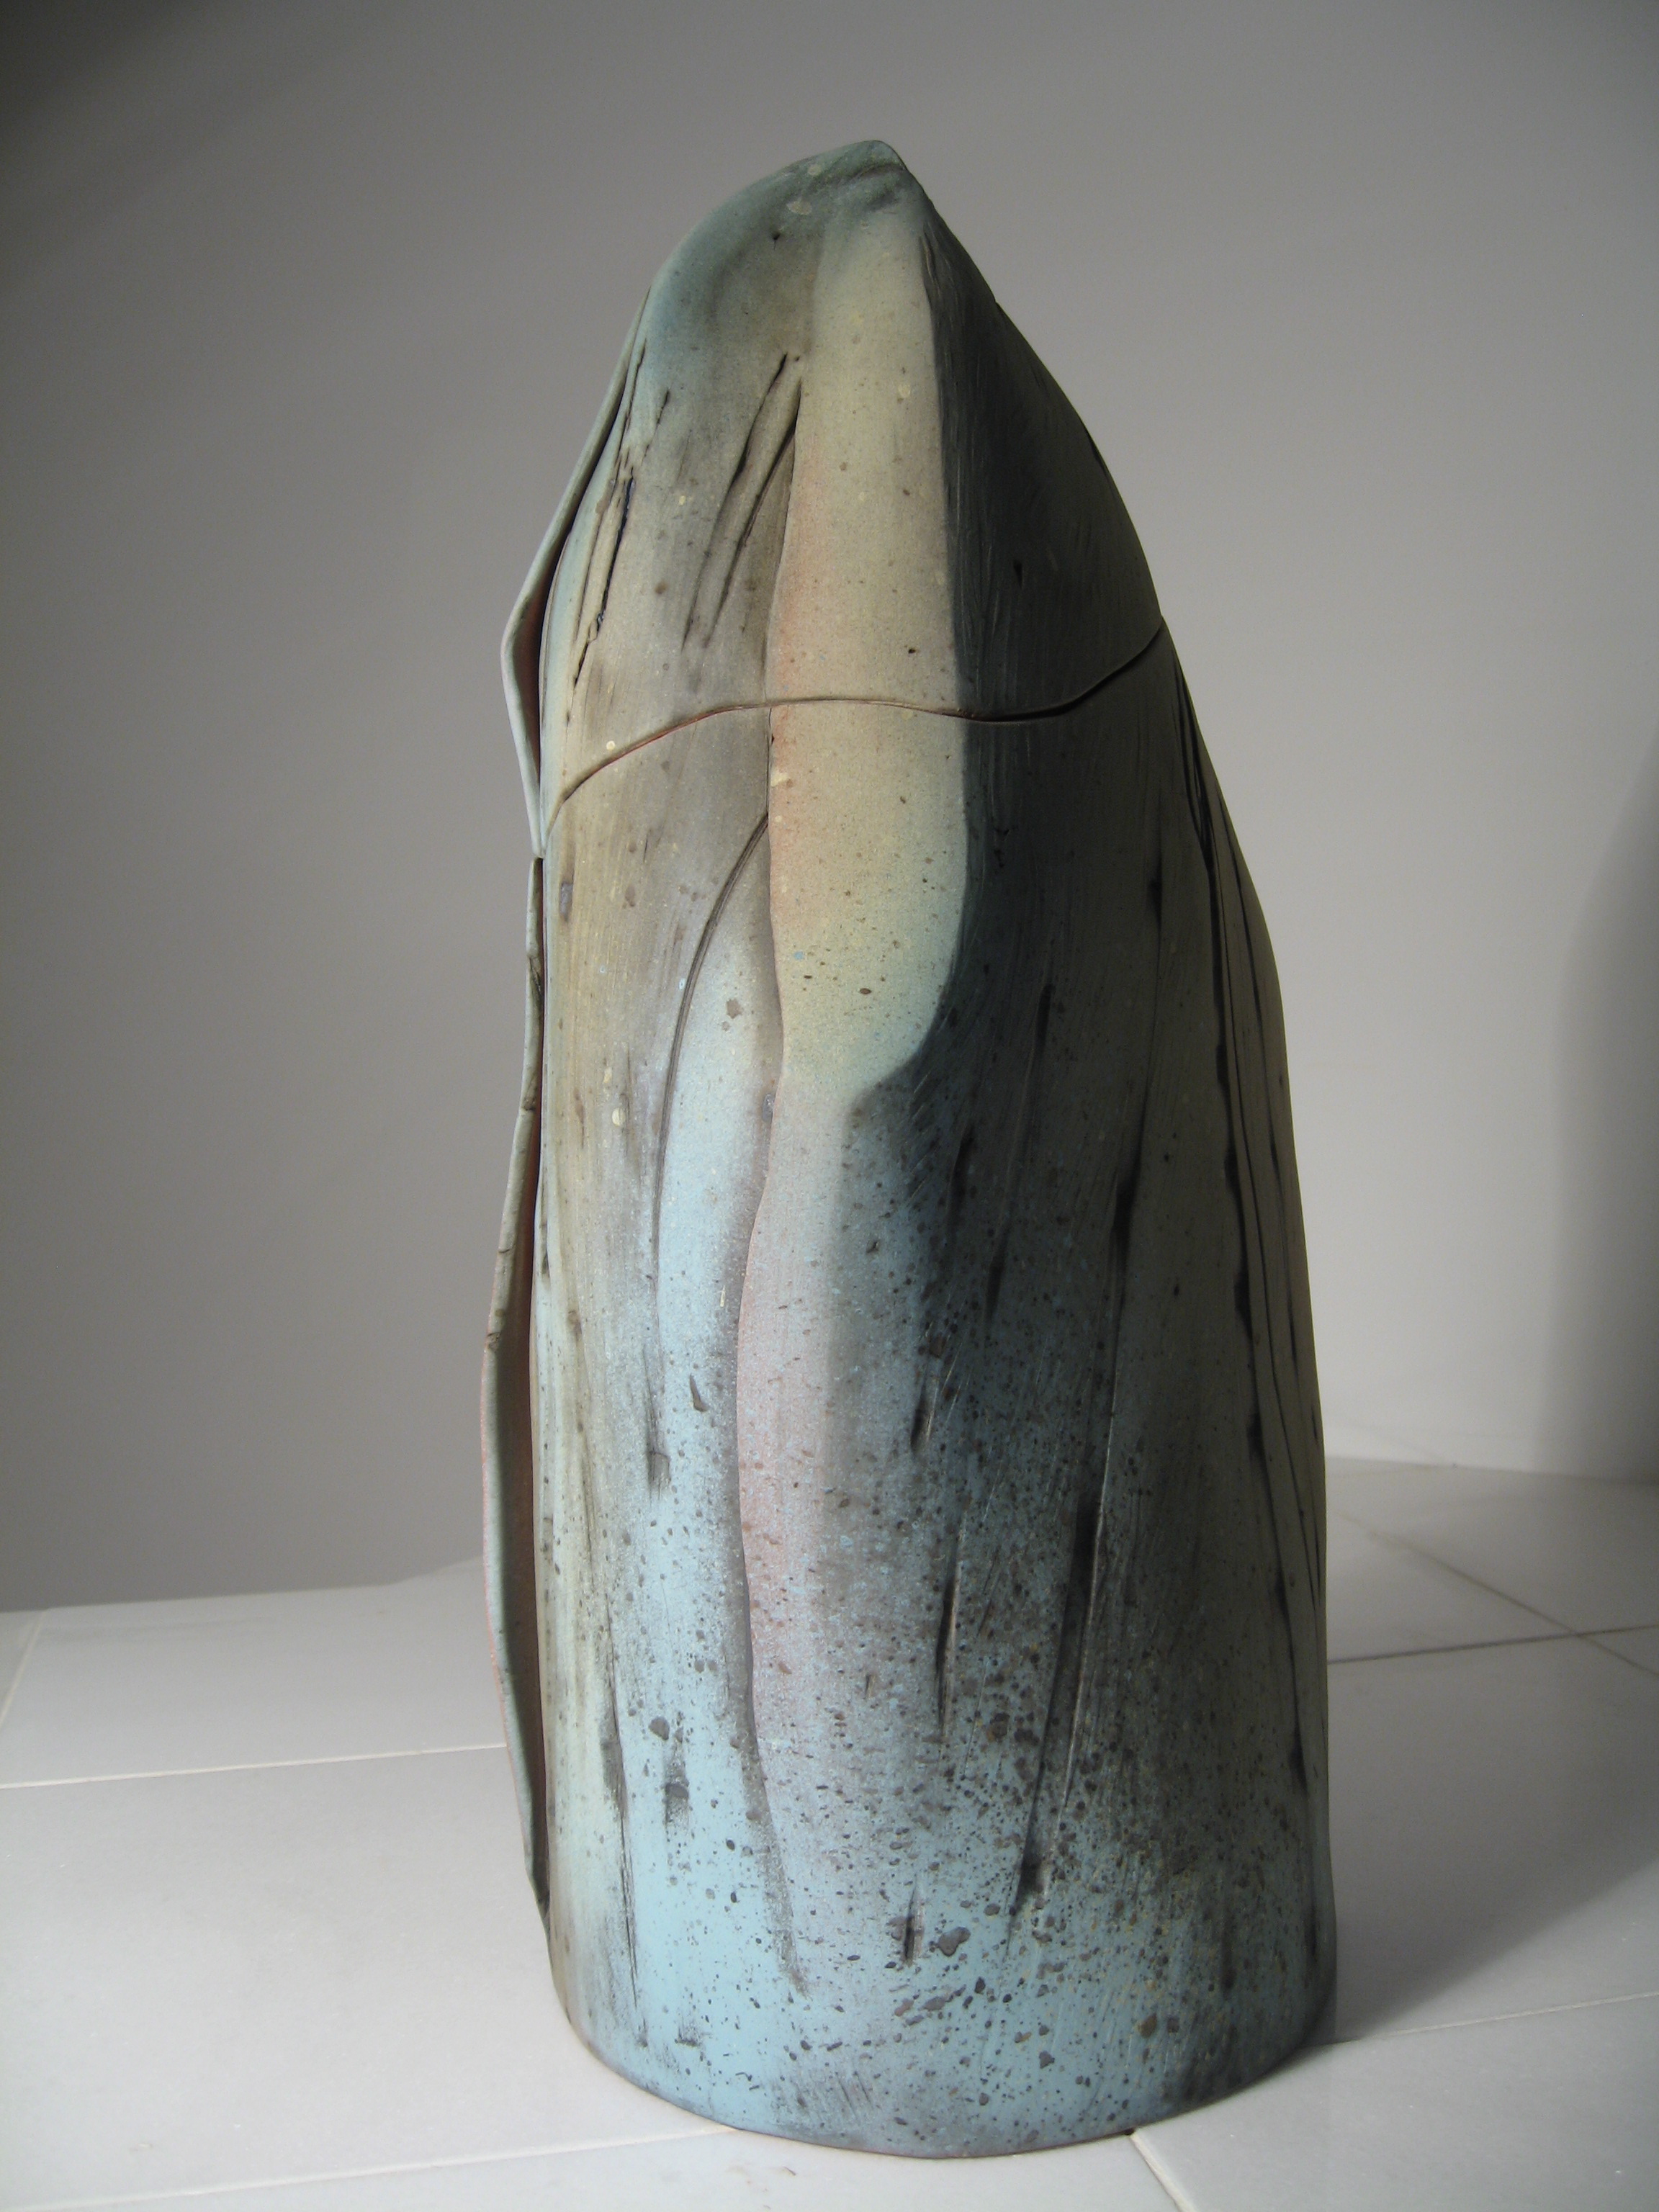
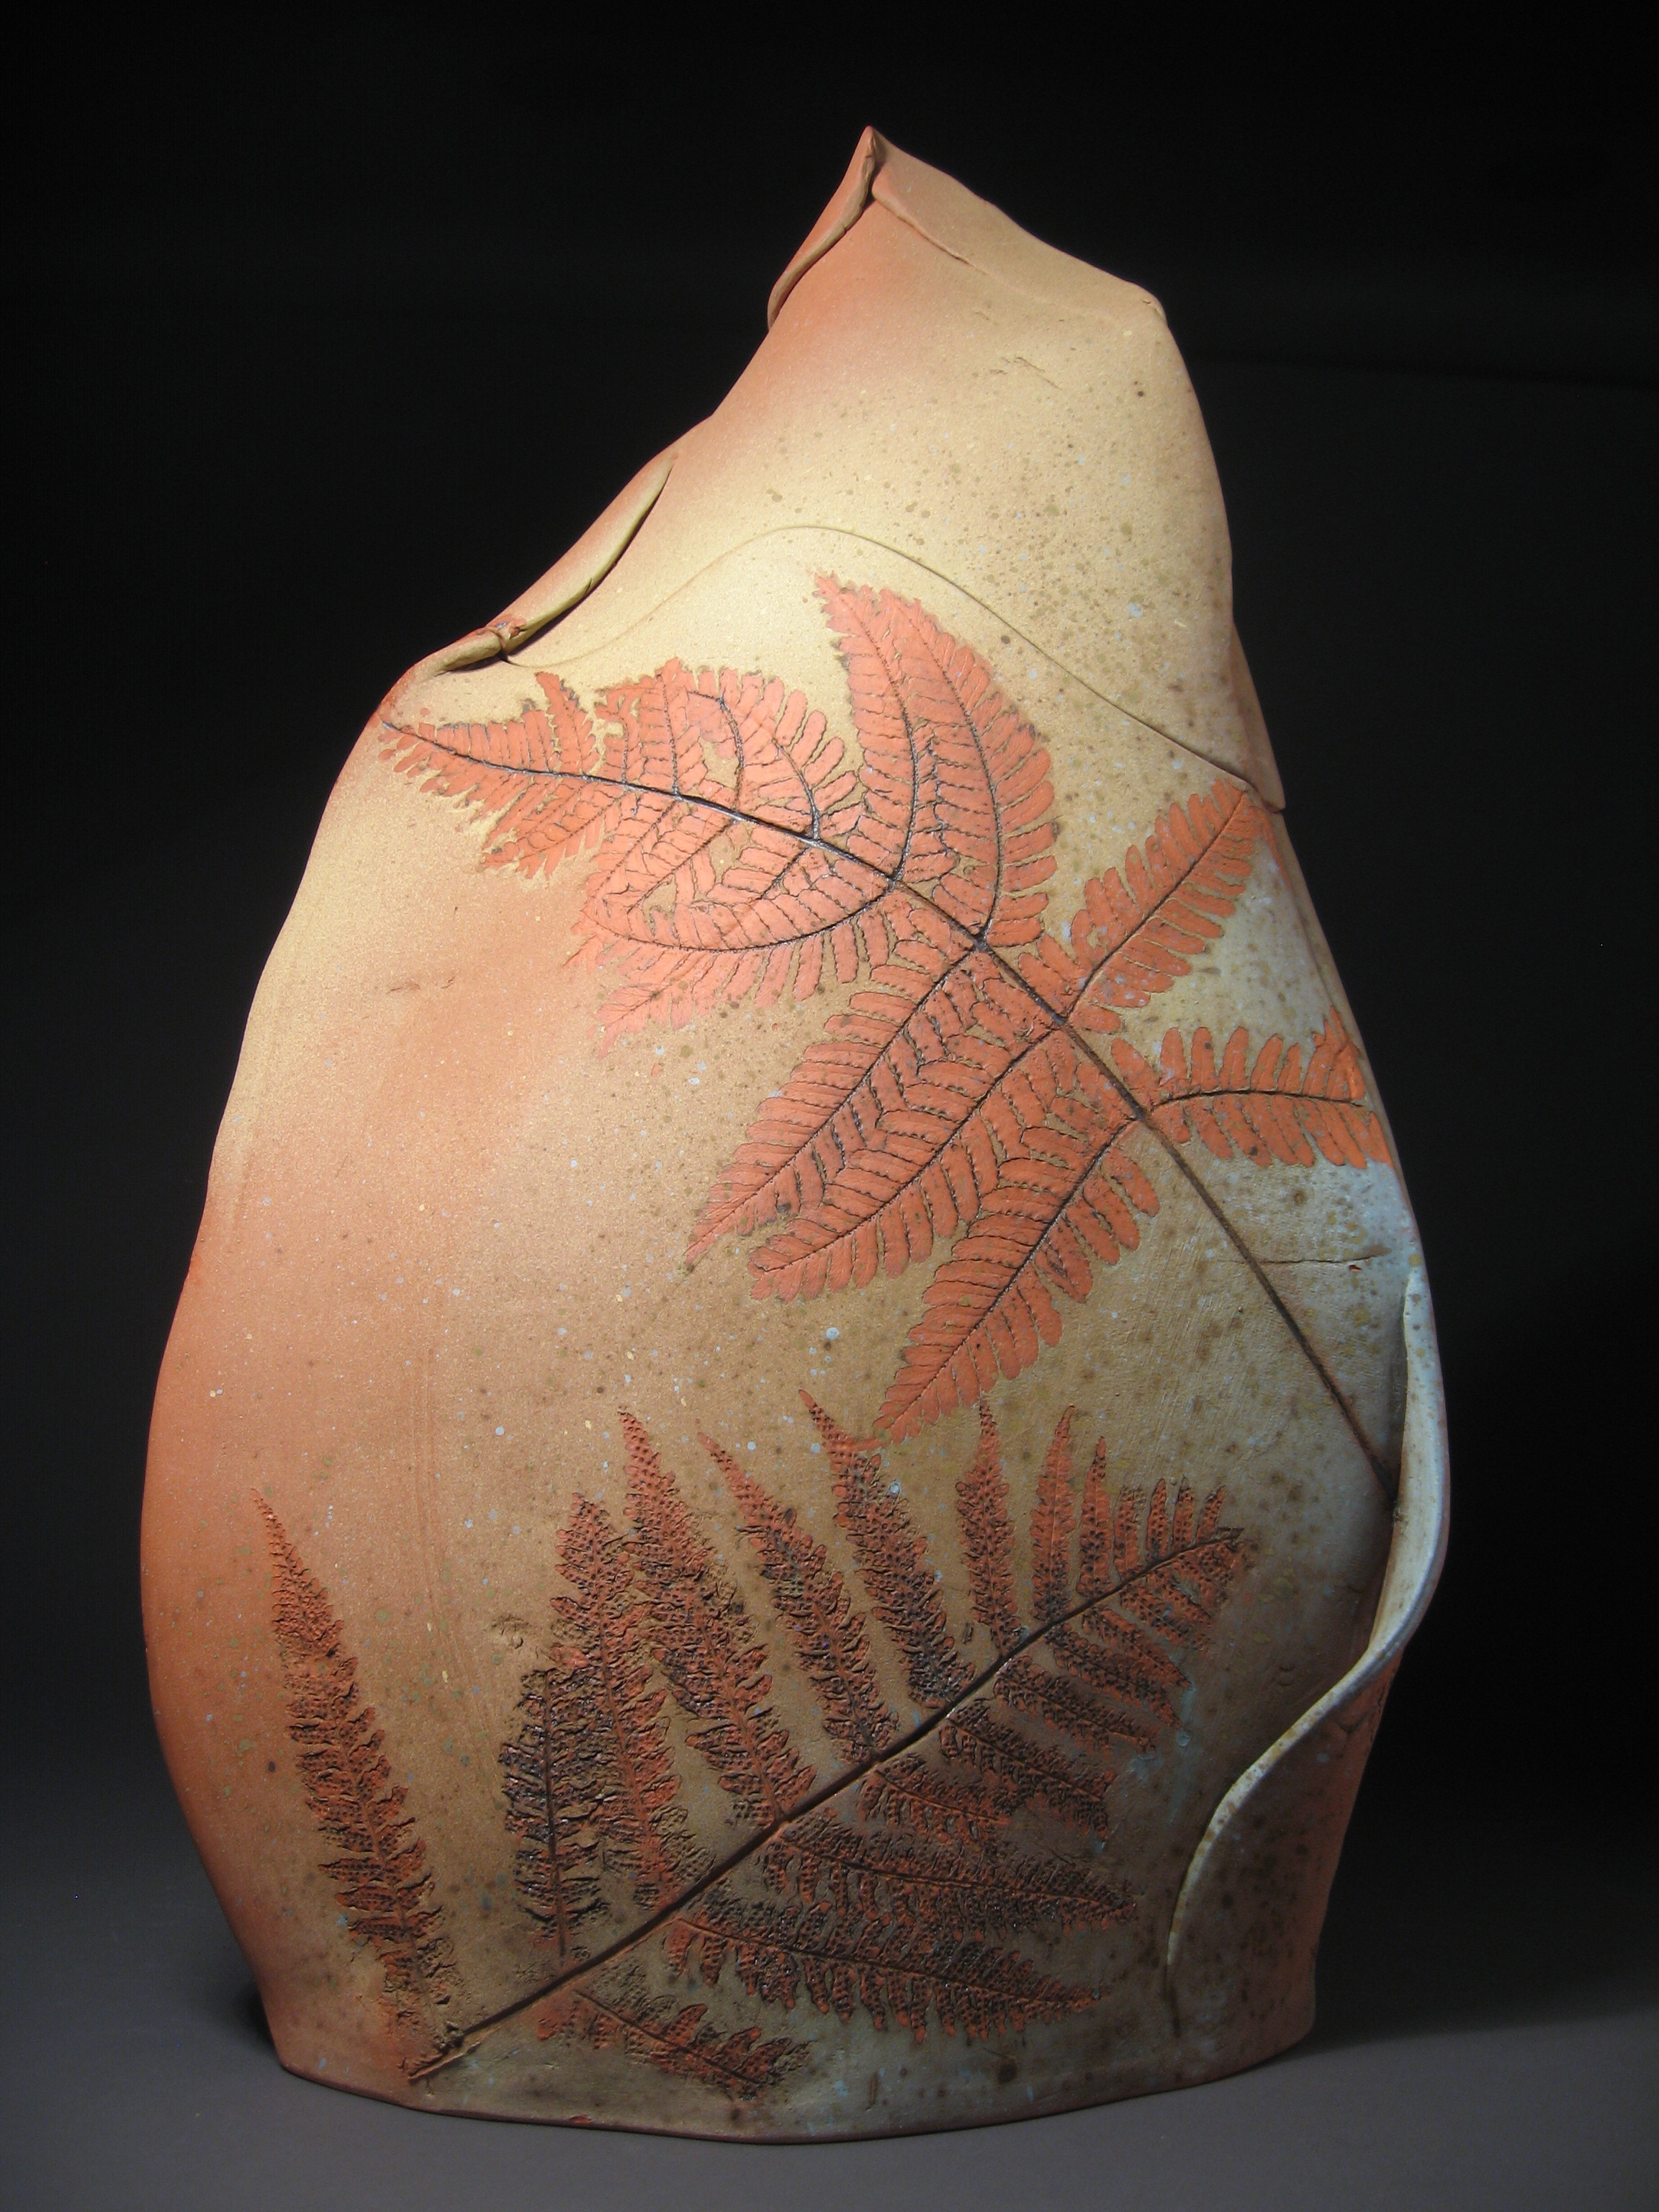
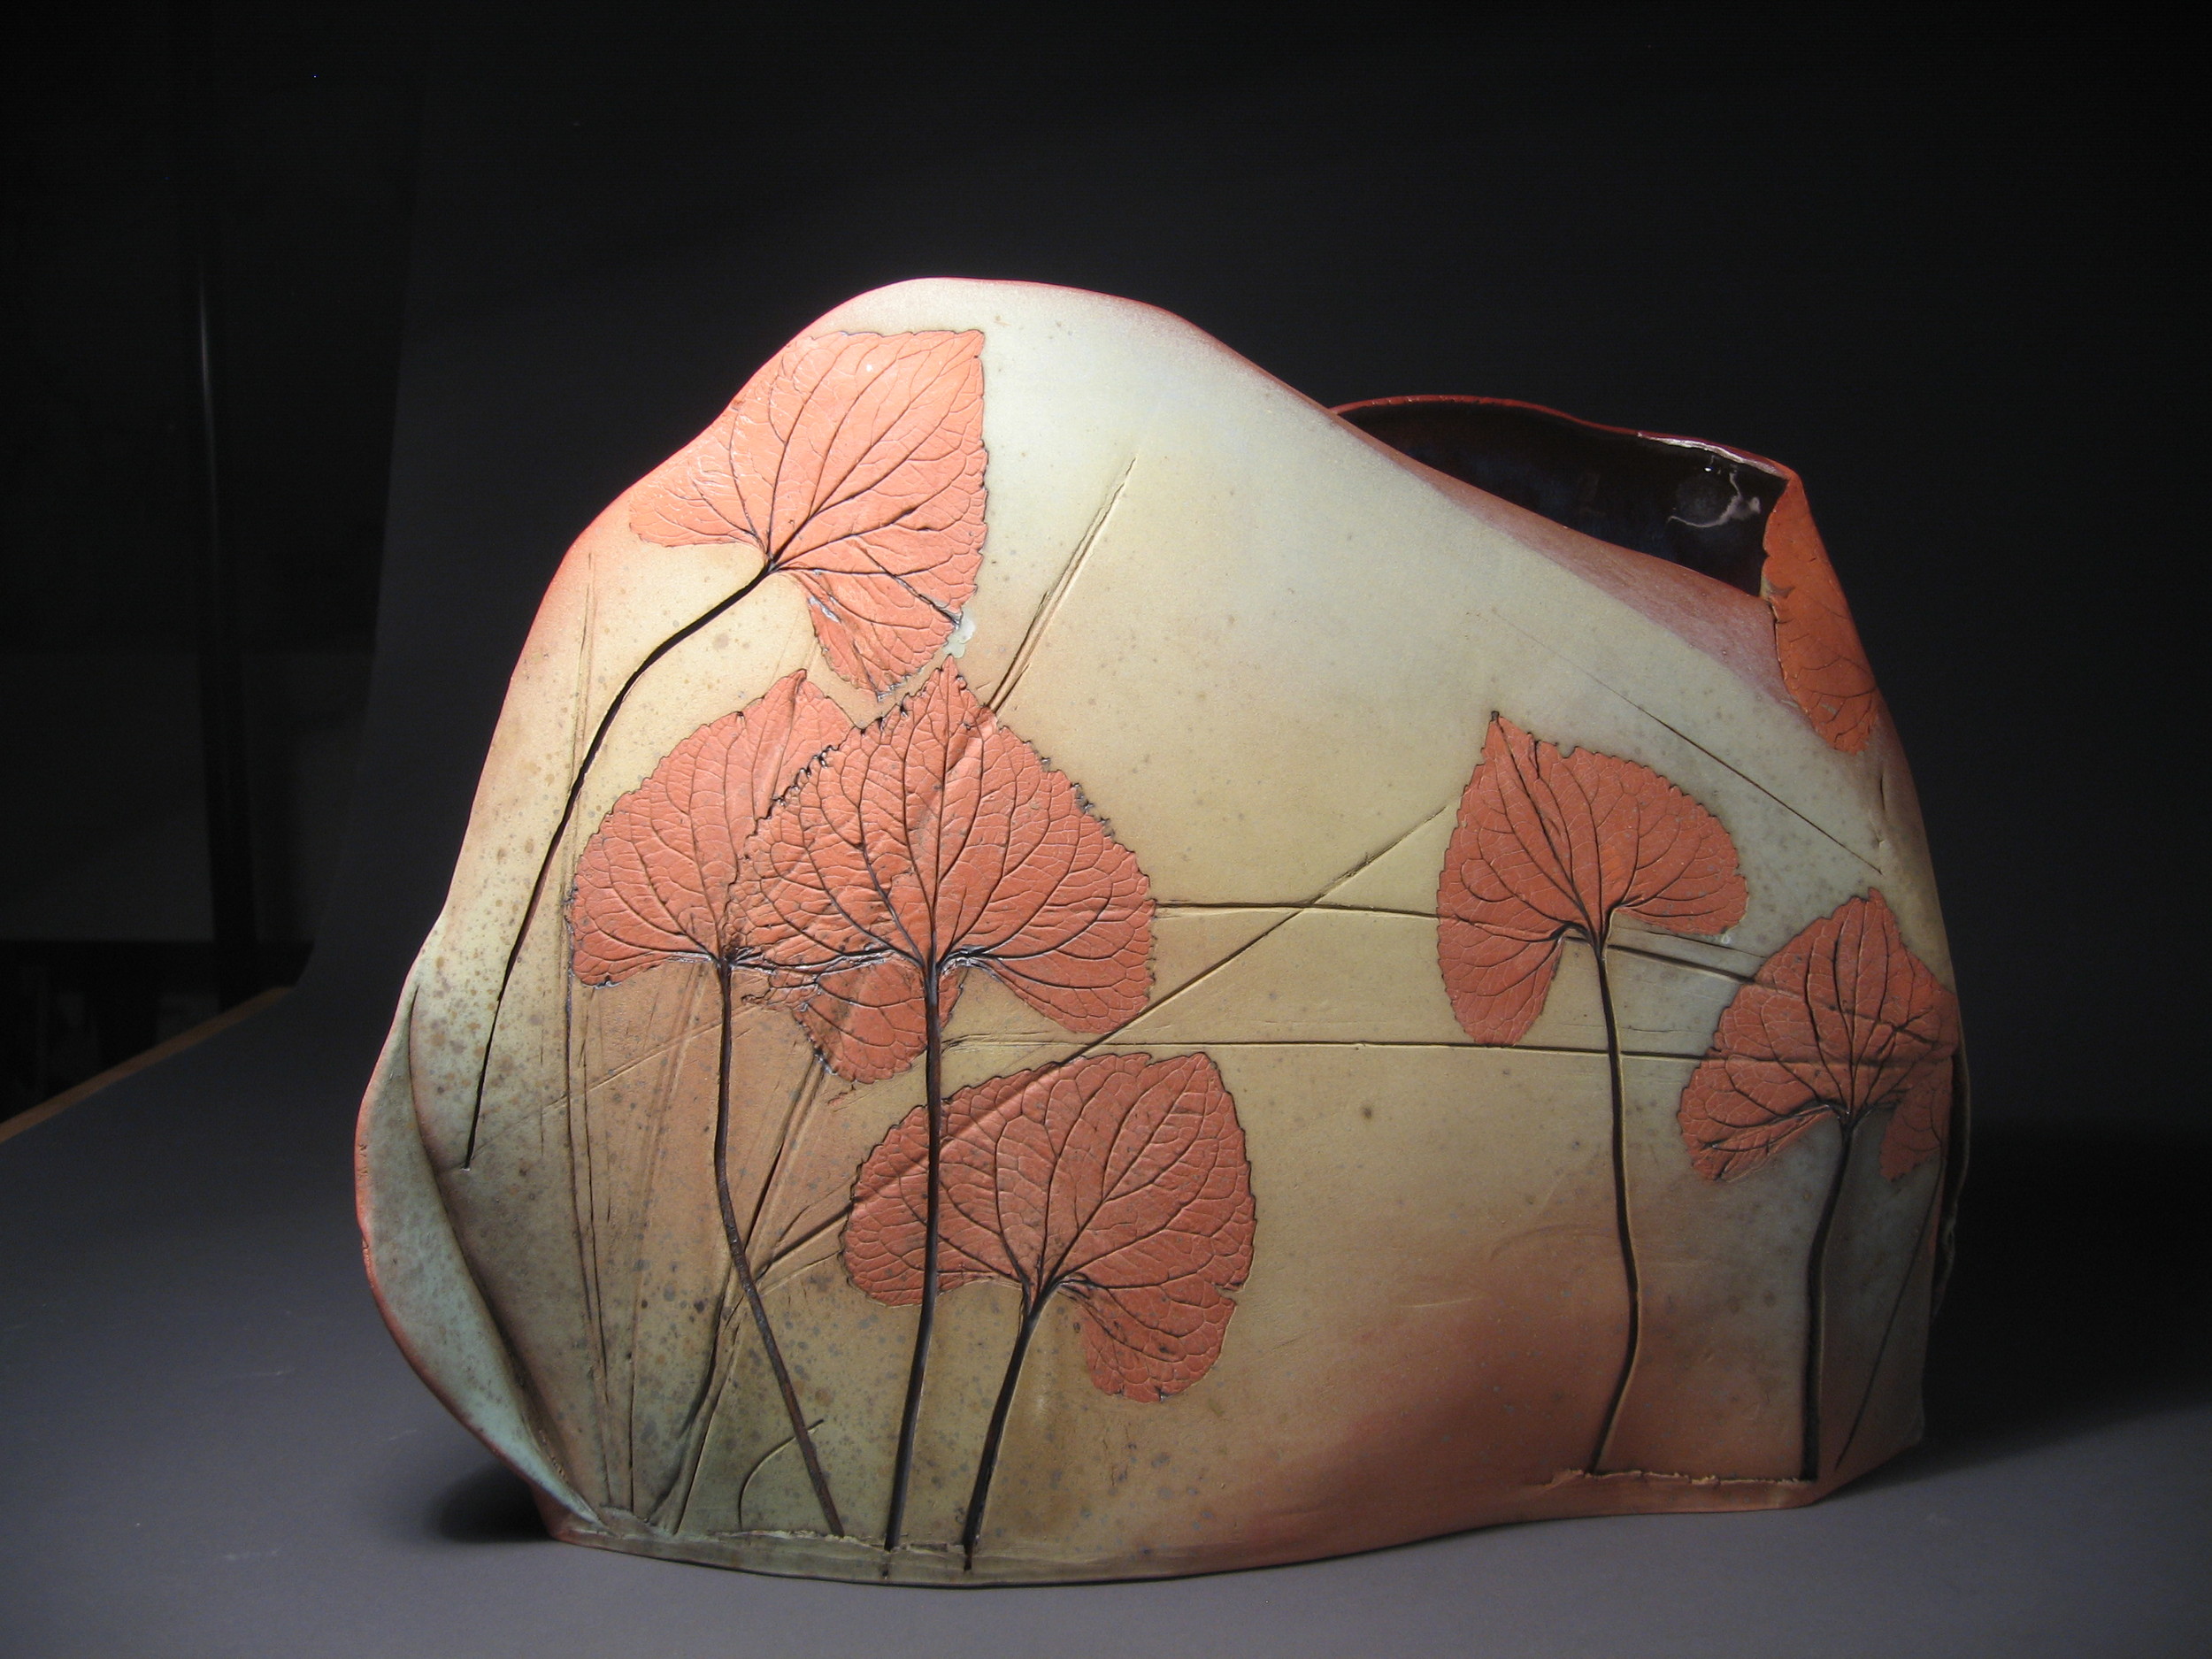
Garden Impressions is an ongoing series of what I would call “art vessels.” They can serve as a sculptural object but become functional with the addition of a branch, some bamboo, a favorite rock or a pomegranate.
The series is dedicated to remembering specific special plants in my garden in different seasons and differing stages. In addition, many of my plants have been gifts from friends. They become reminders of those special friendships.
Earthy red iron-rich earthenware and terra cotta are the only 2 clays I have used thus far. I suppose the color reminds me of that red clay soil we have in so many parts of the Carolina’s. The red iron in the clay also serves to deepen the colors of the terra sigillata that I use for color in these pieces. Like so many things I do, the process I use in creating the Garden Impression series is a slow and layered one. The layering I now believe comes from by training as a painter so it seems only natural to me to follow suit with this habit when I am painting on clay.
I begin these platters and vessels by pounding out clay into large flat slabs. The pounding compresses the clay. This is followed by using a rolling pin that reveals any concealed air bubbles, if there are any. Air bubbles are simply popped out with a needle tool before the final rolling.
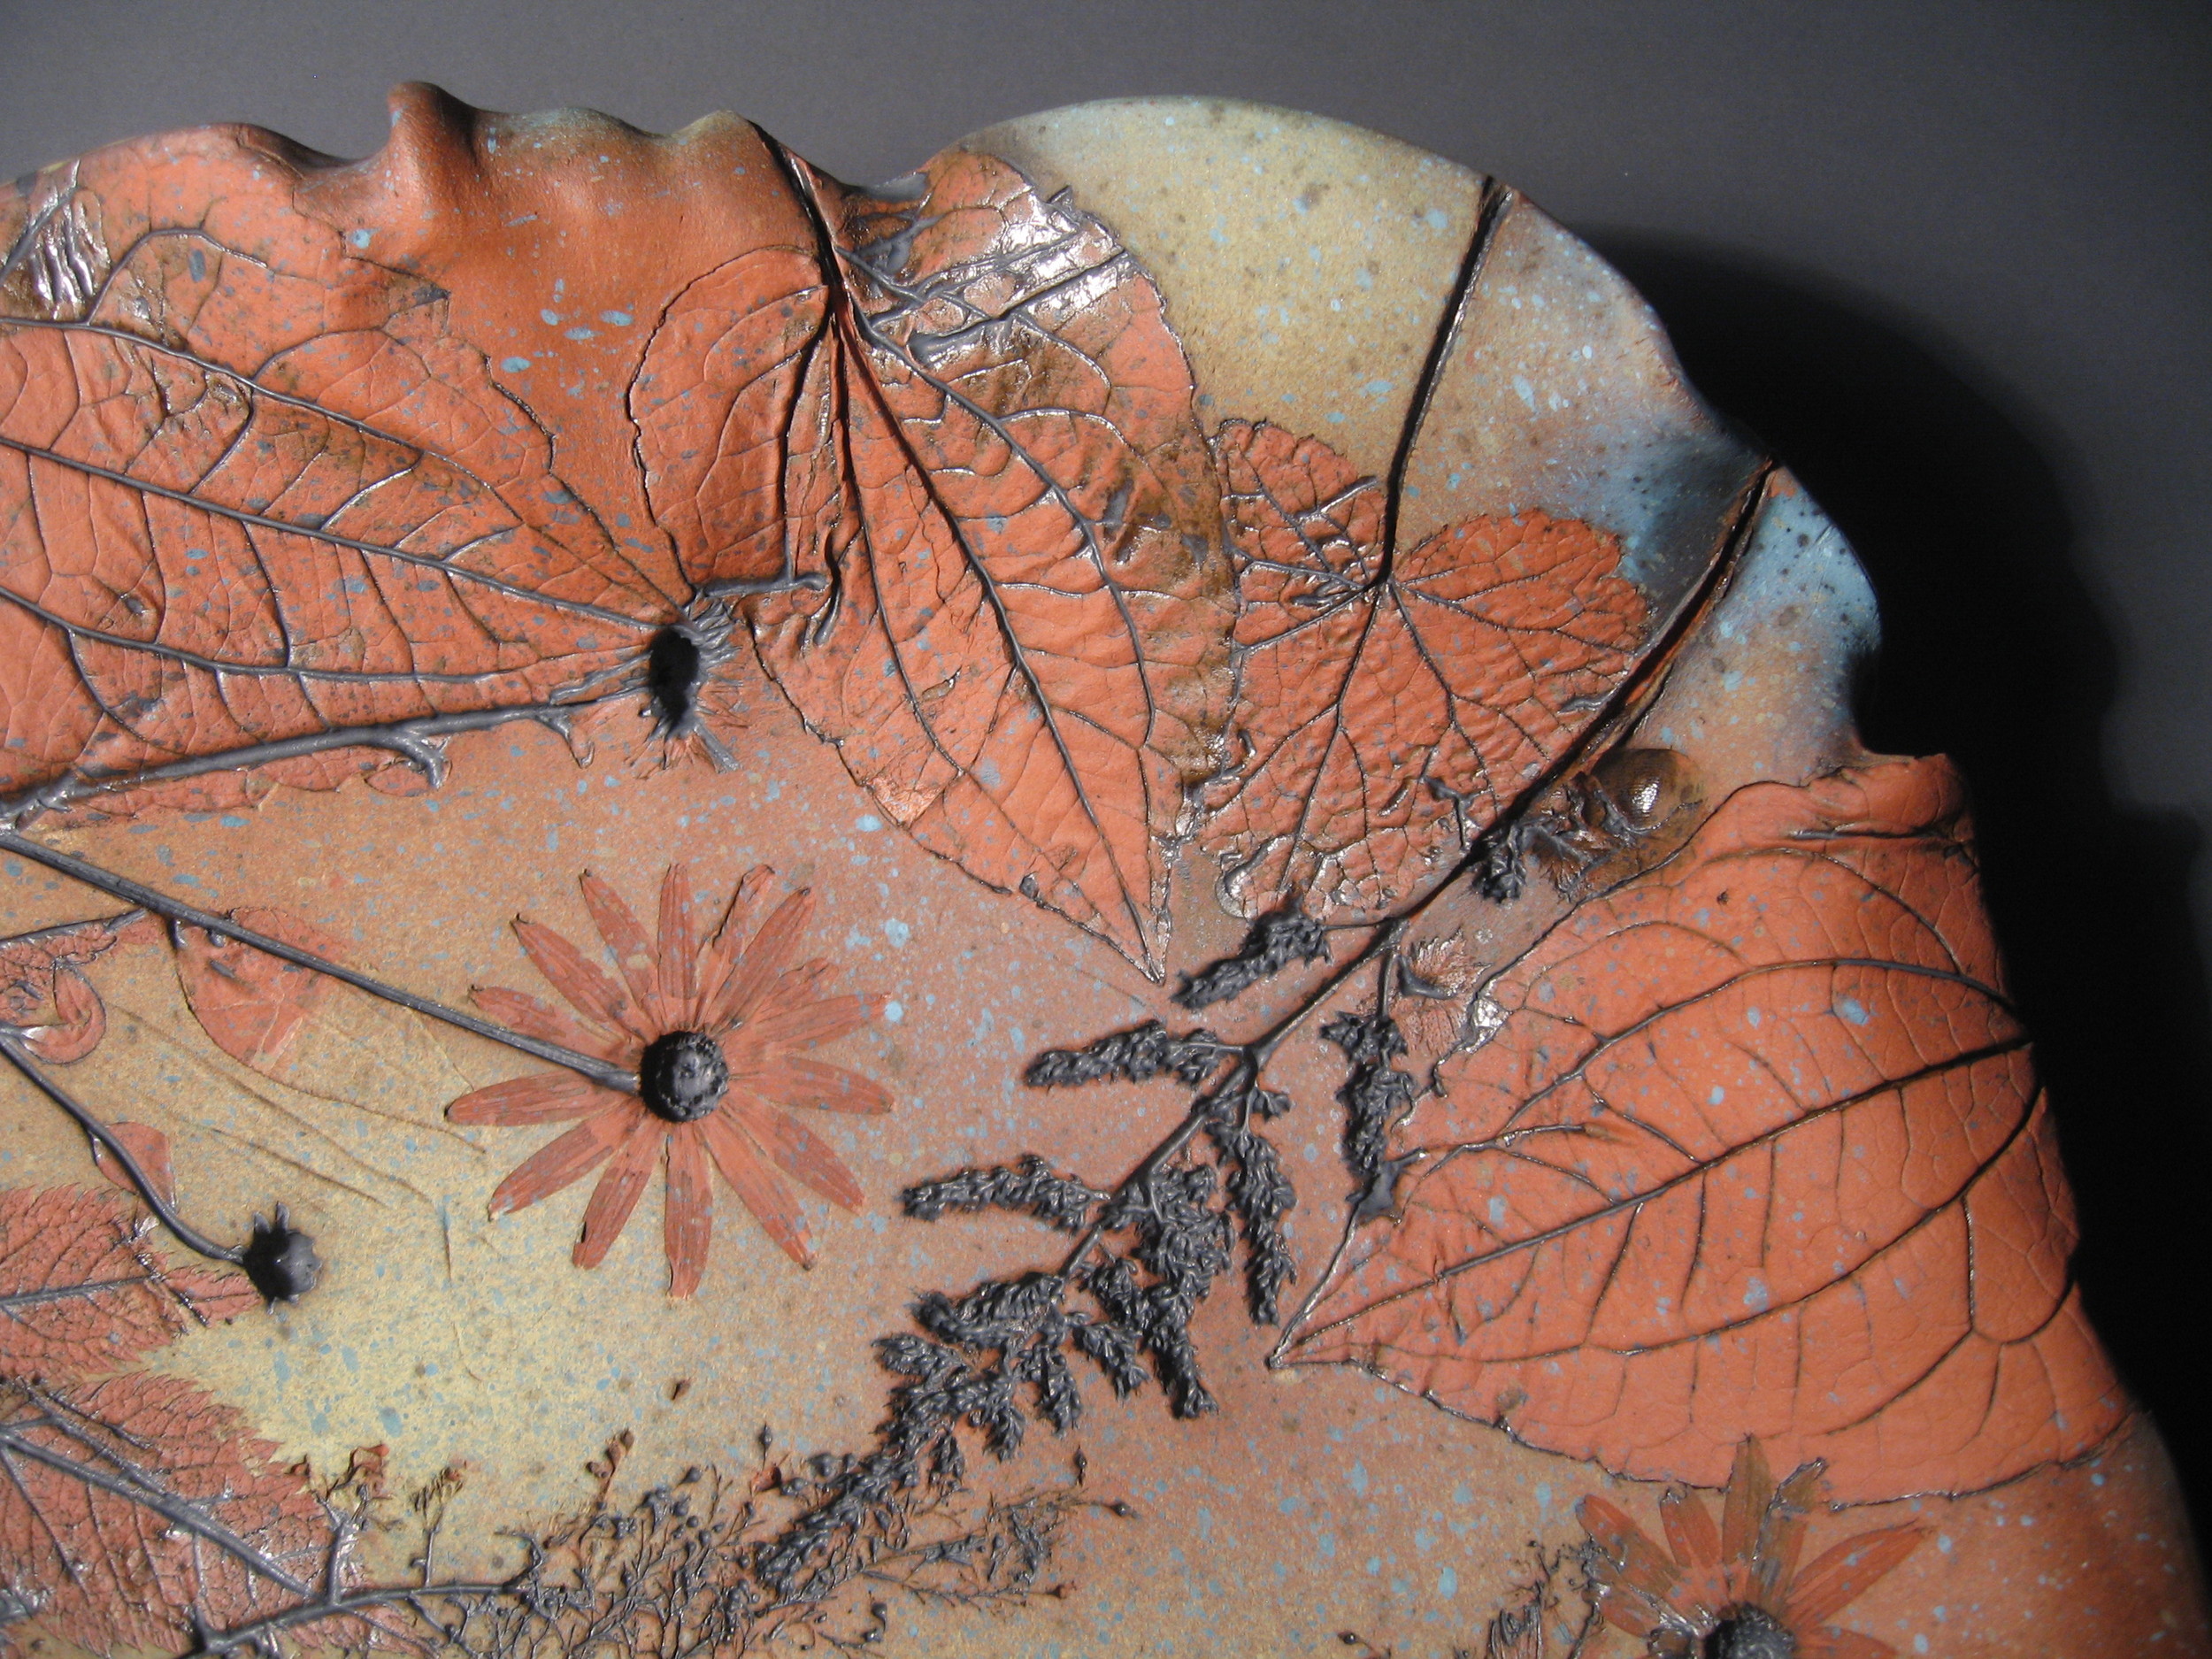
Now it is time to go into my garden to choose leaves, grasses, buds, flowers and/or any materials that attract my attention. In my studio I begin to play with them by laying them out on the clay. I add and then I subtract and add again until I am pleased with the composition. When I compose with these materials, I am looking for strong lines, forms, maybe soft textures, all of which contrast with one another. It is also a time important to decide the role of “negative space” in my composition. I try to remember that the negative space can often be more important than the items you are going to press into the clay. When I am happy with the composition, I gently press garden treasures into the clay. I let the clay set up slightly and lay the clay slab on a piece of fabric for easy lifting into a form or puki. For large platters. I lay the slab into a green plastic saucer sled and begin to play with the outer edges. Then I look carefully at the total composition of the piece. I try to guide the movement of the undulations in the rim to work in harmony with the total composition of the platter.
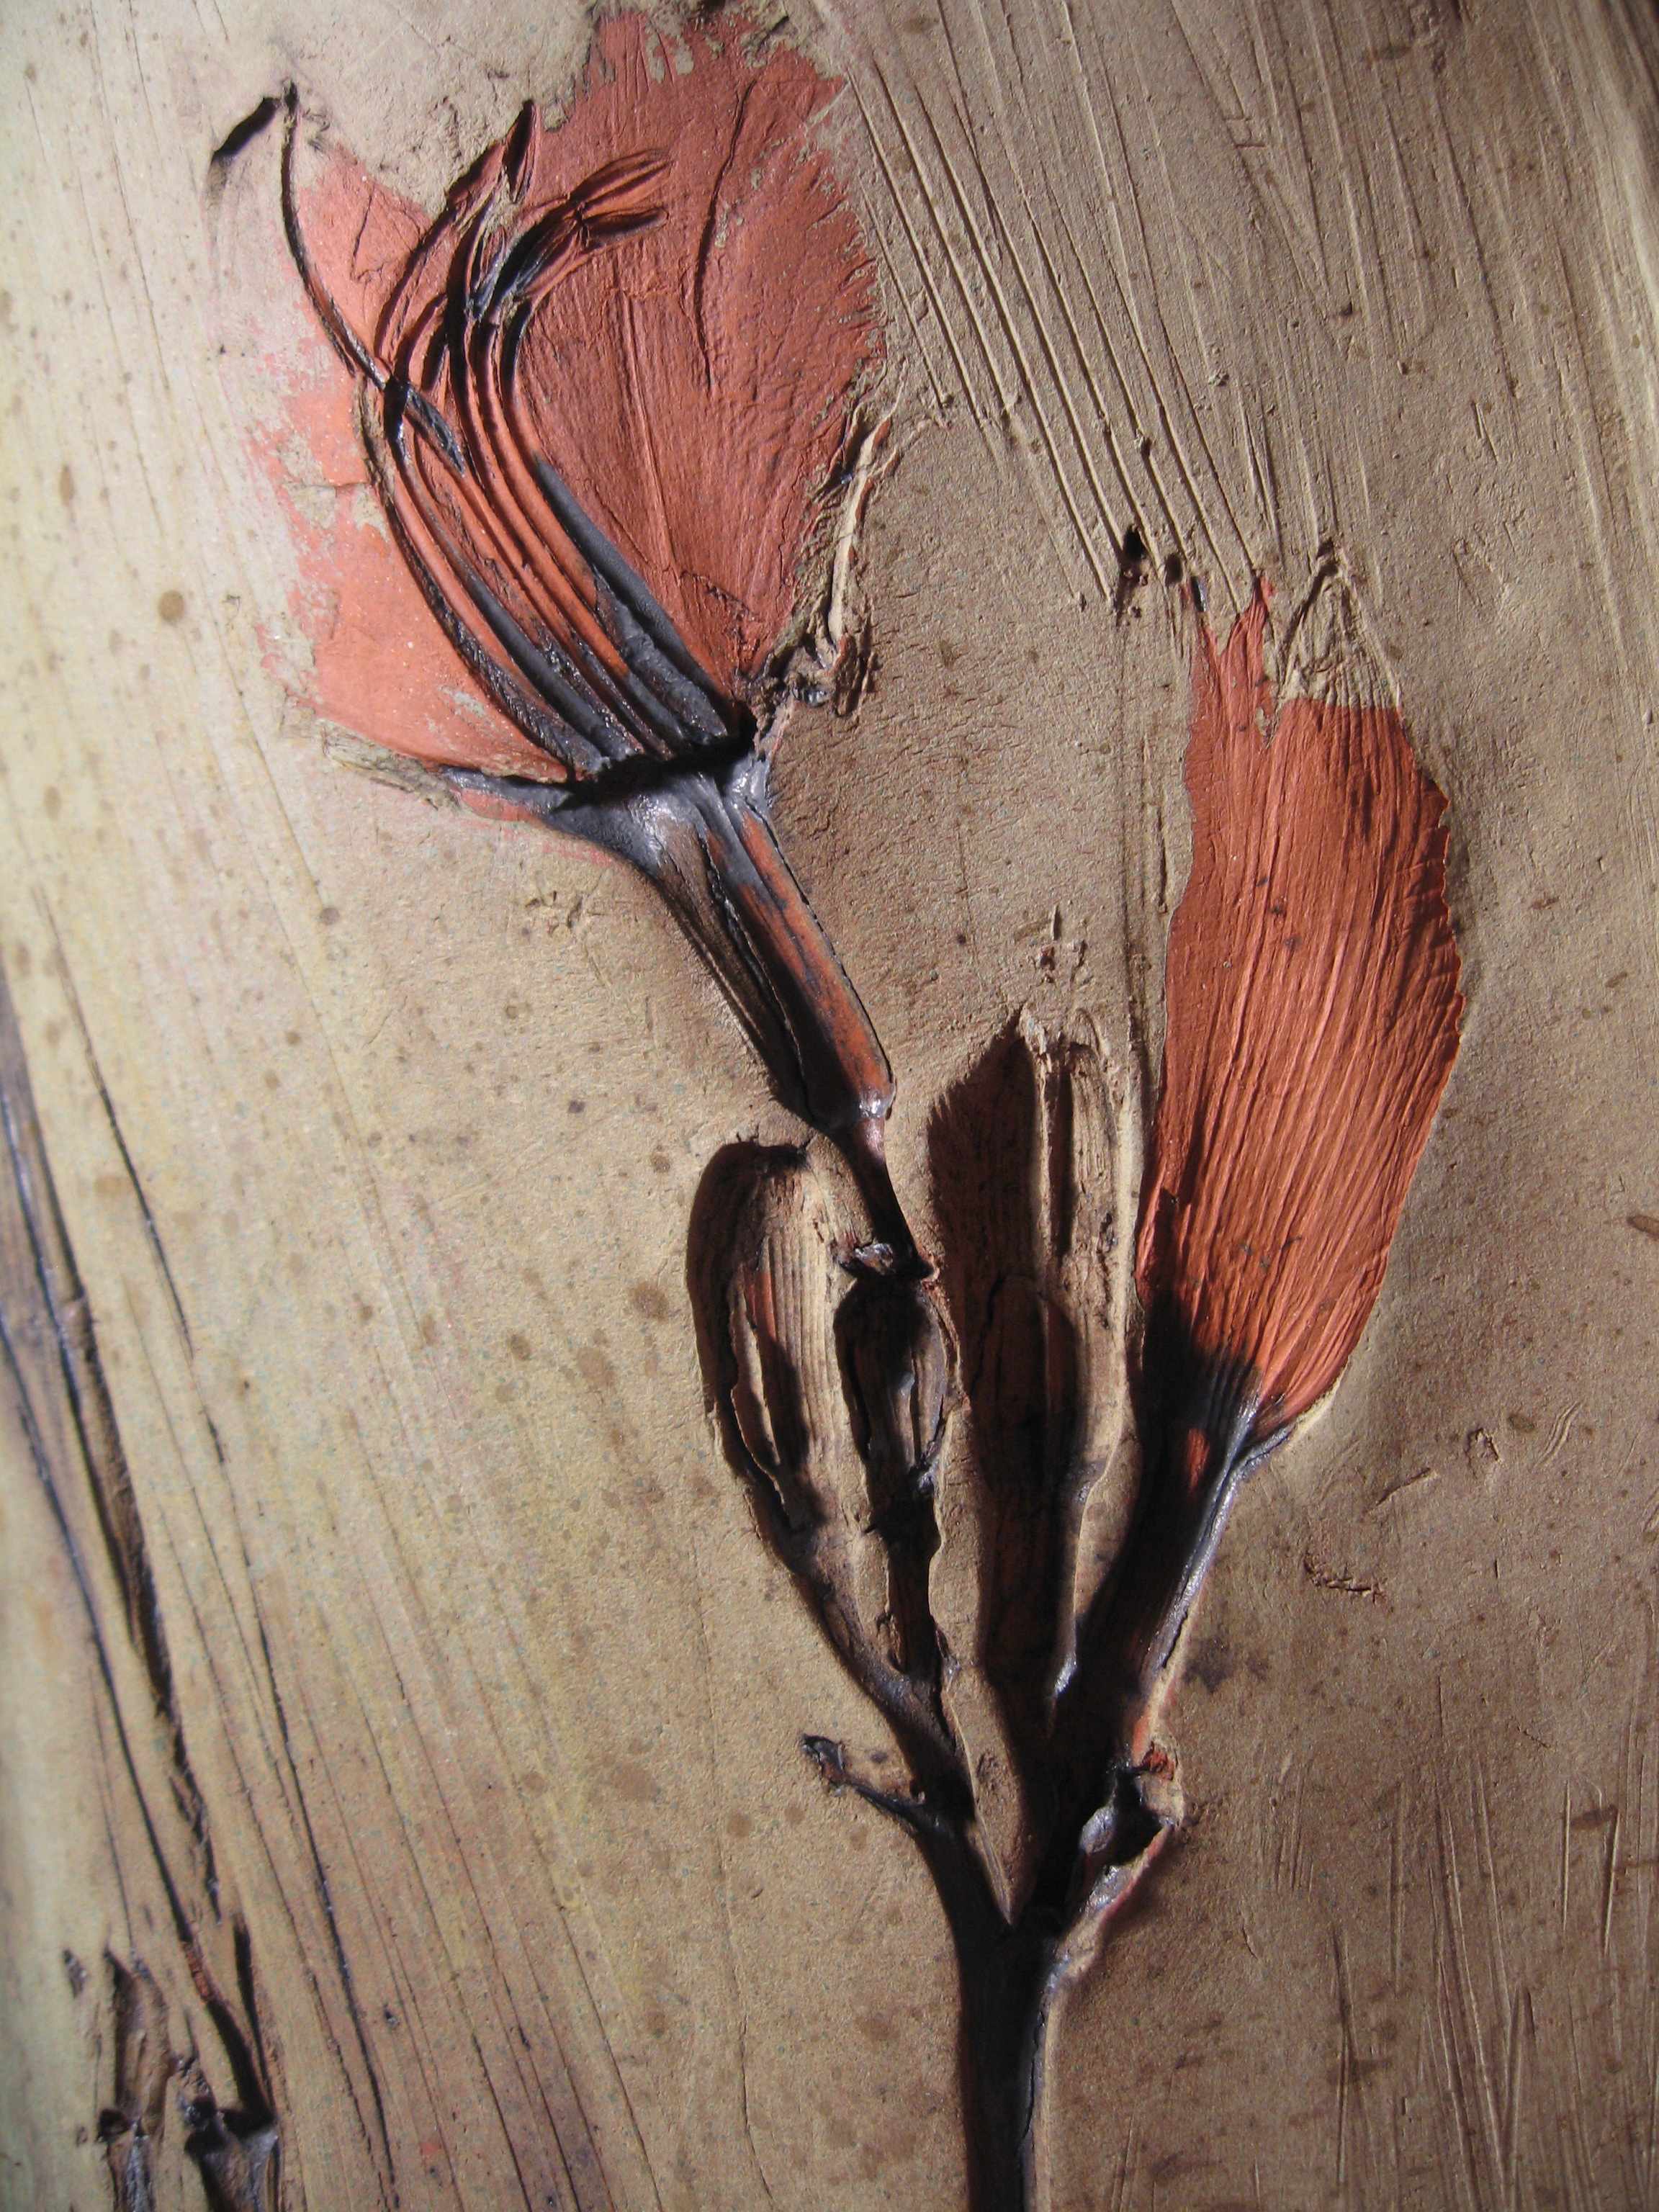
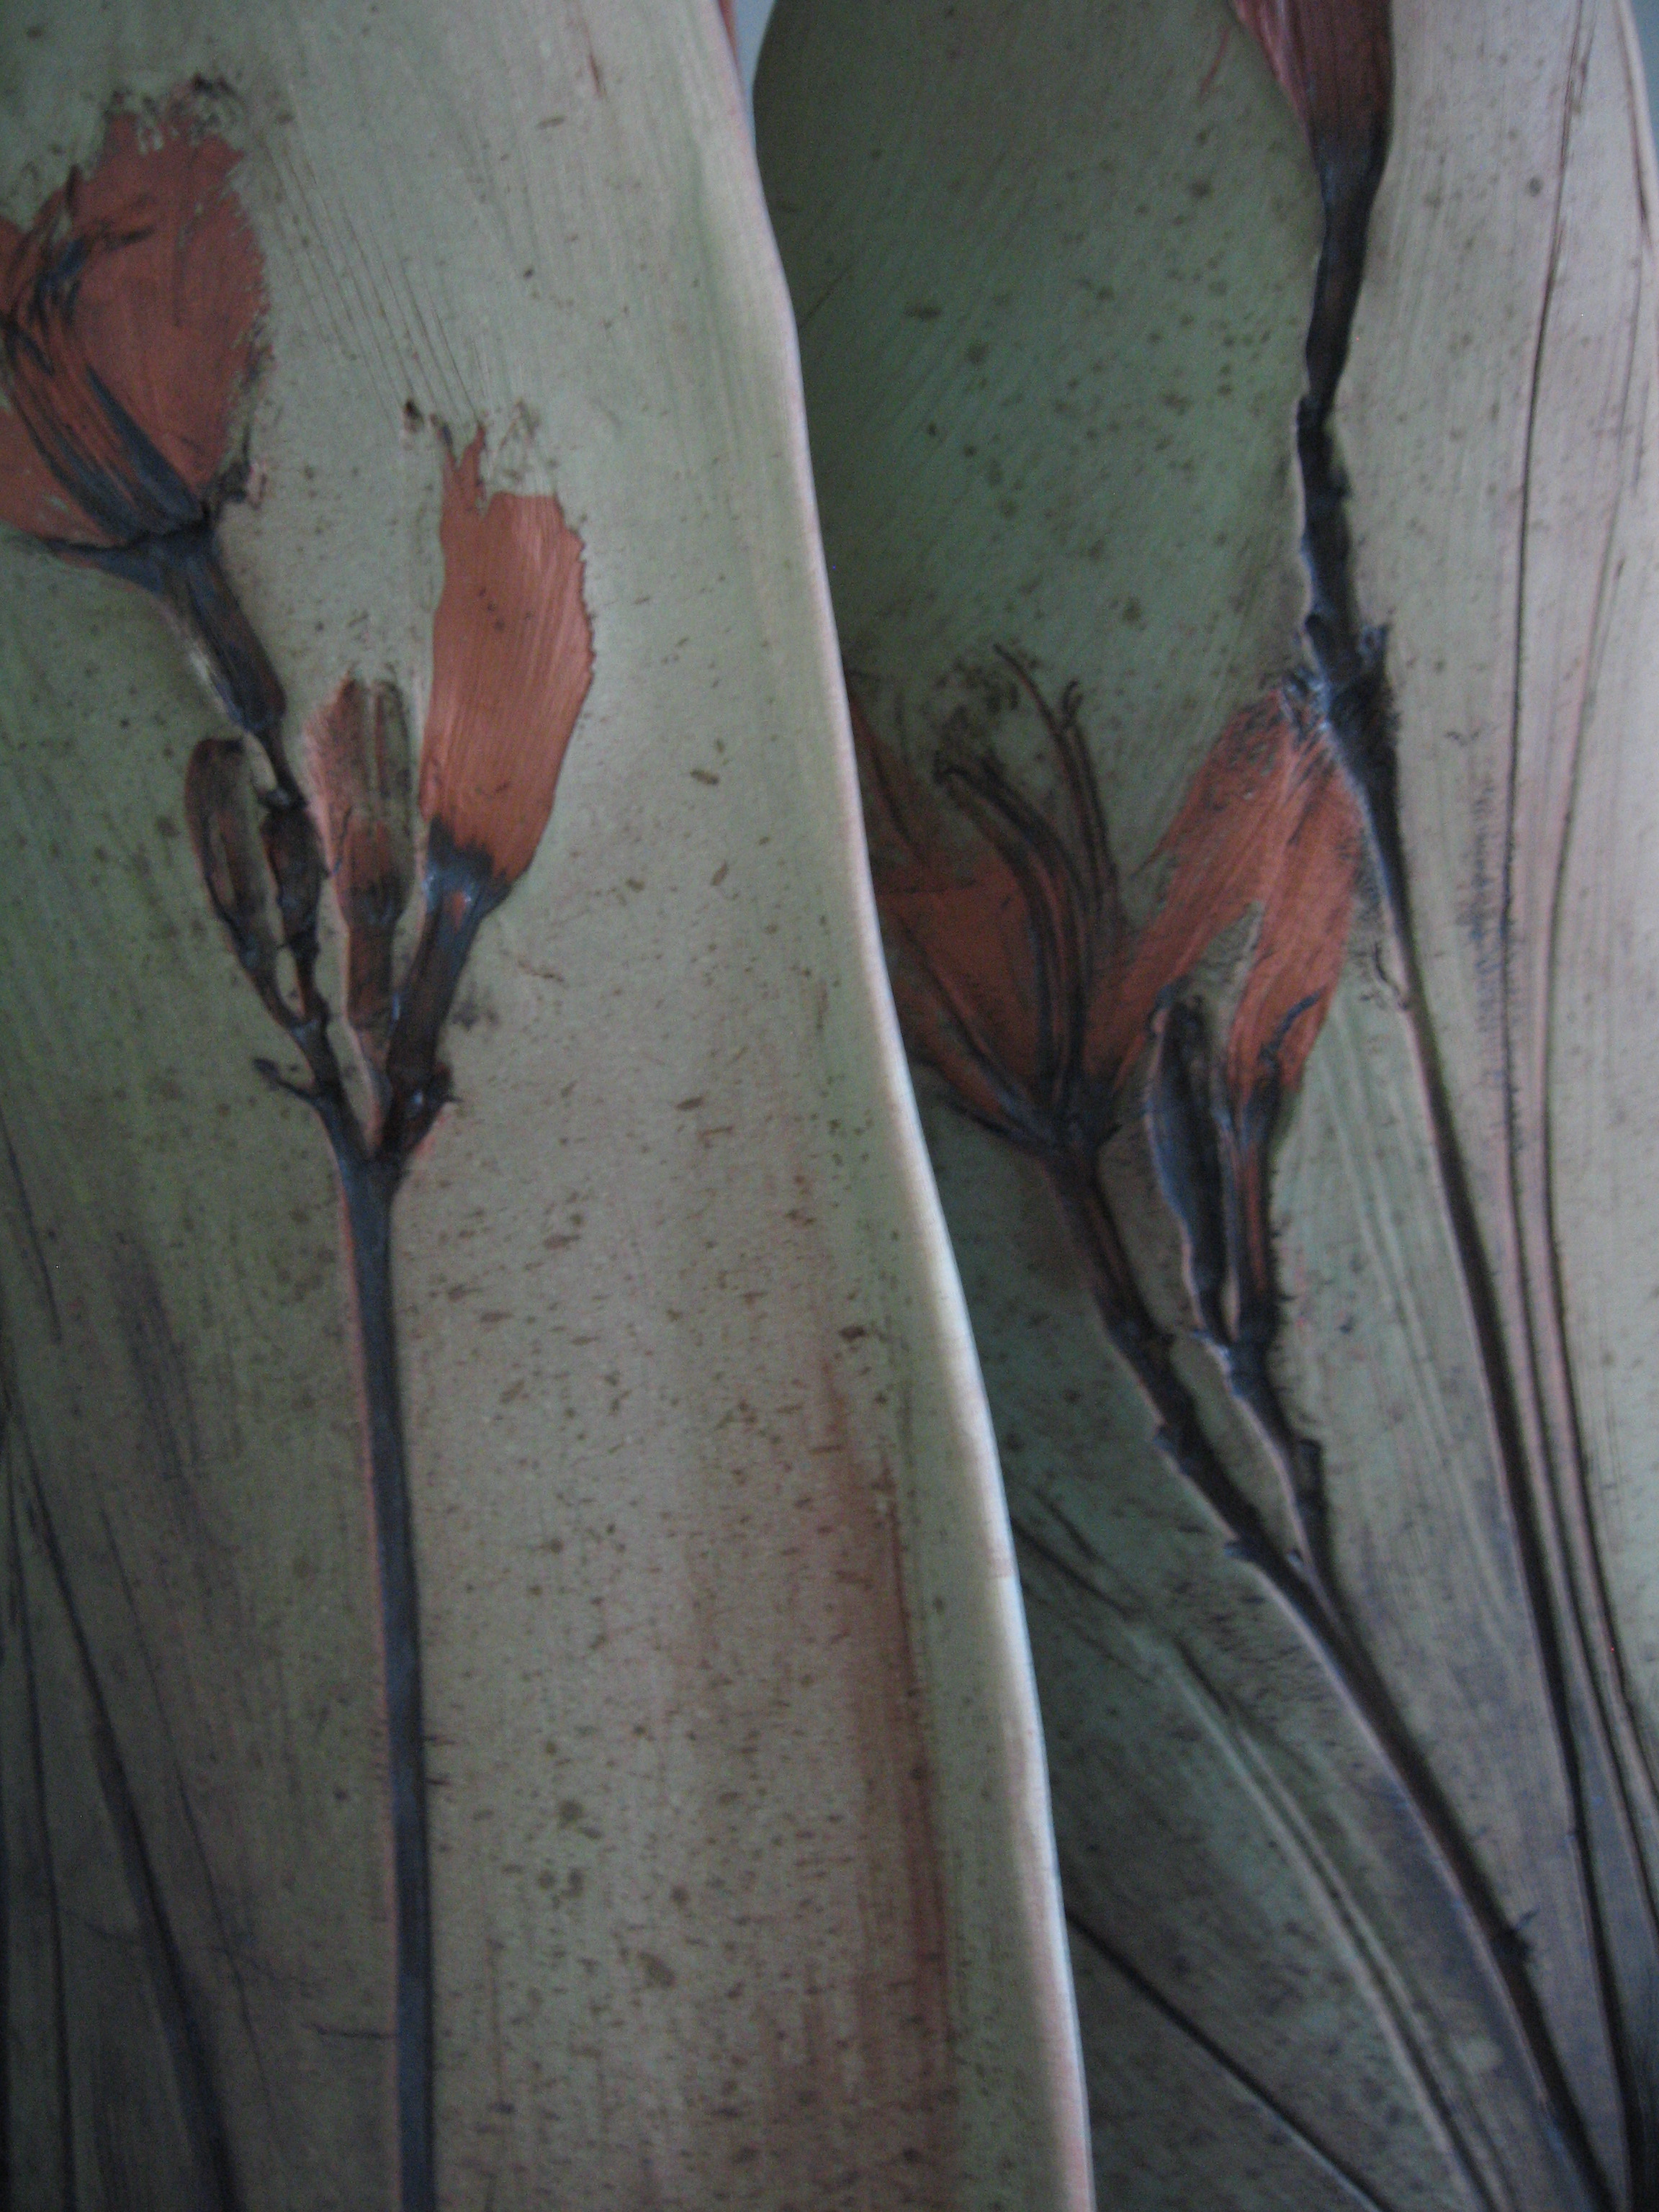
With vertical pieces, it is critical that the slabs are leather hard at the time you assemble them. Wrap edges with strips of plastic wrap the make the edges easy to join while the rest of the slab reaches soft leather hard. The clay should be stiff but still have some movement. When I make these I usually have 2 sides and a bottom. Sometimes I add a 3rd side to add stability and visual interest. The parts are mitered, scored, slipped and thin soft coils are added for reinforcement. Again, creating visually harmony between the parts and pieces is critical to how the piece looks in the end.
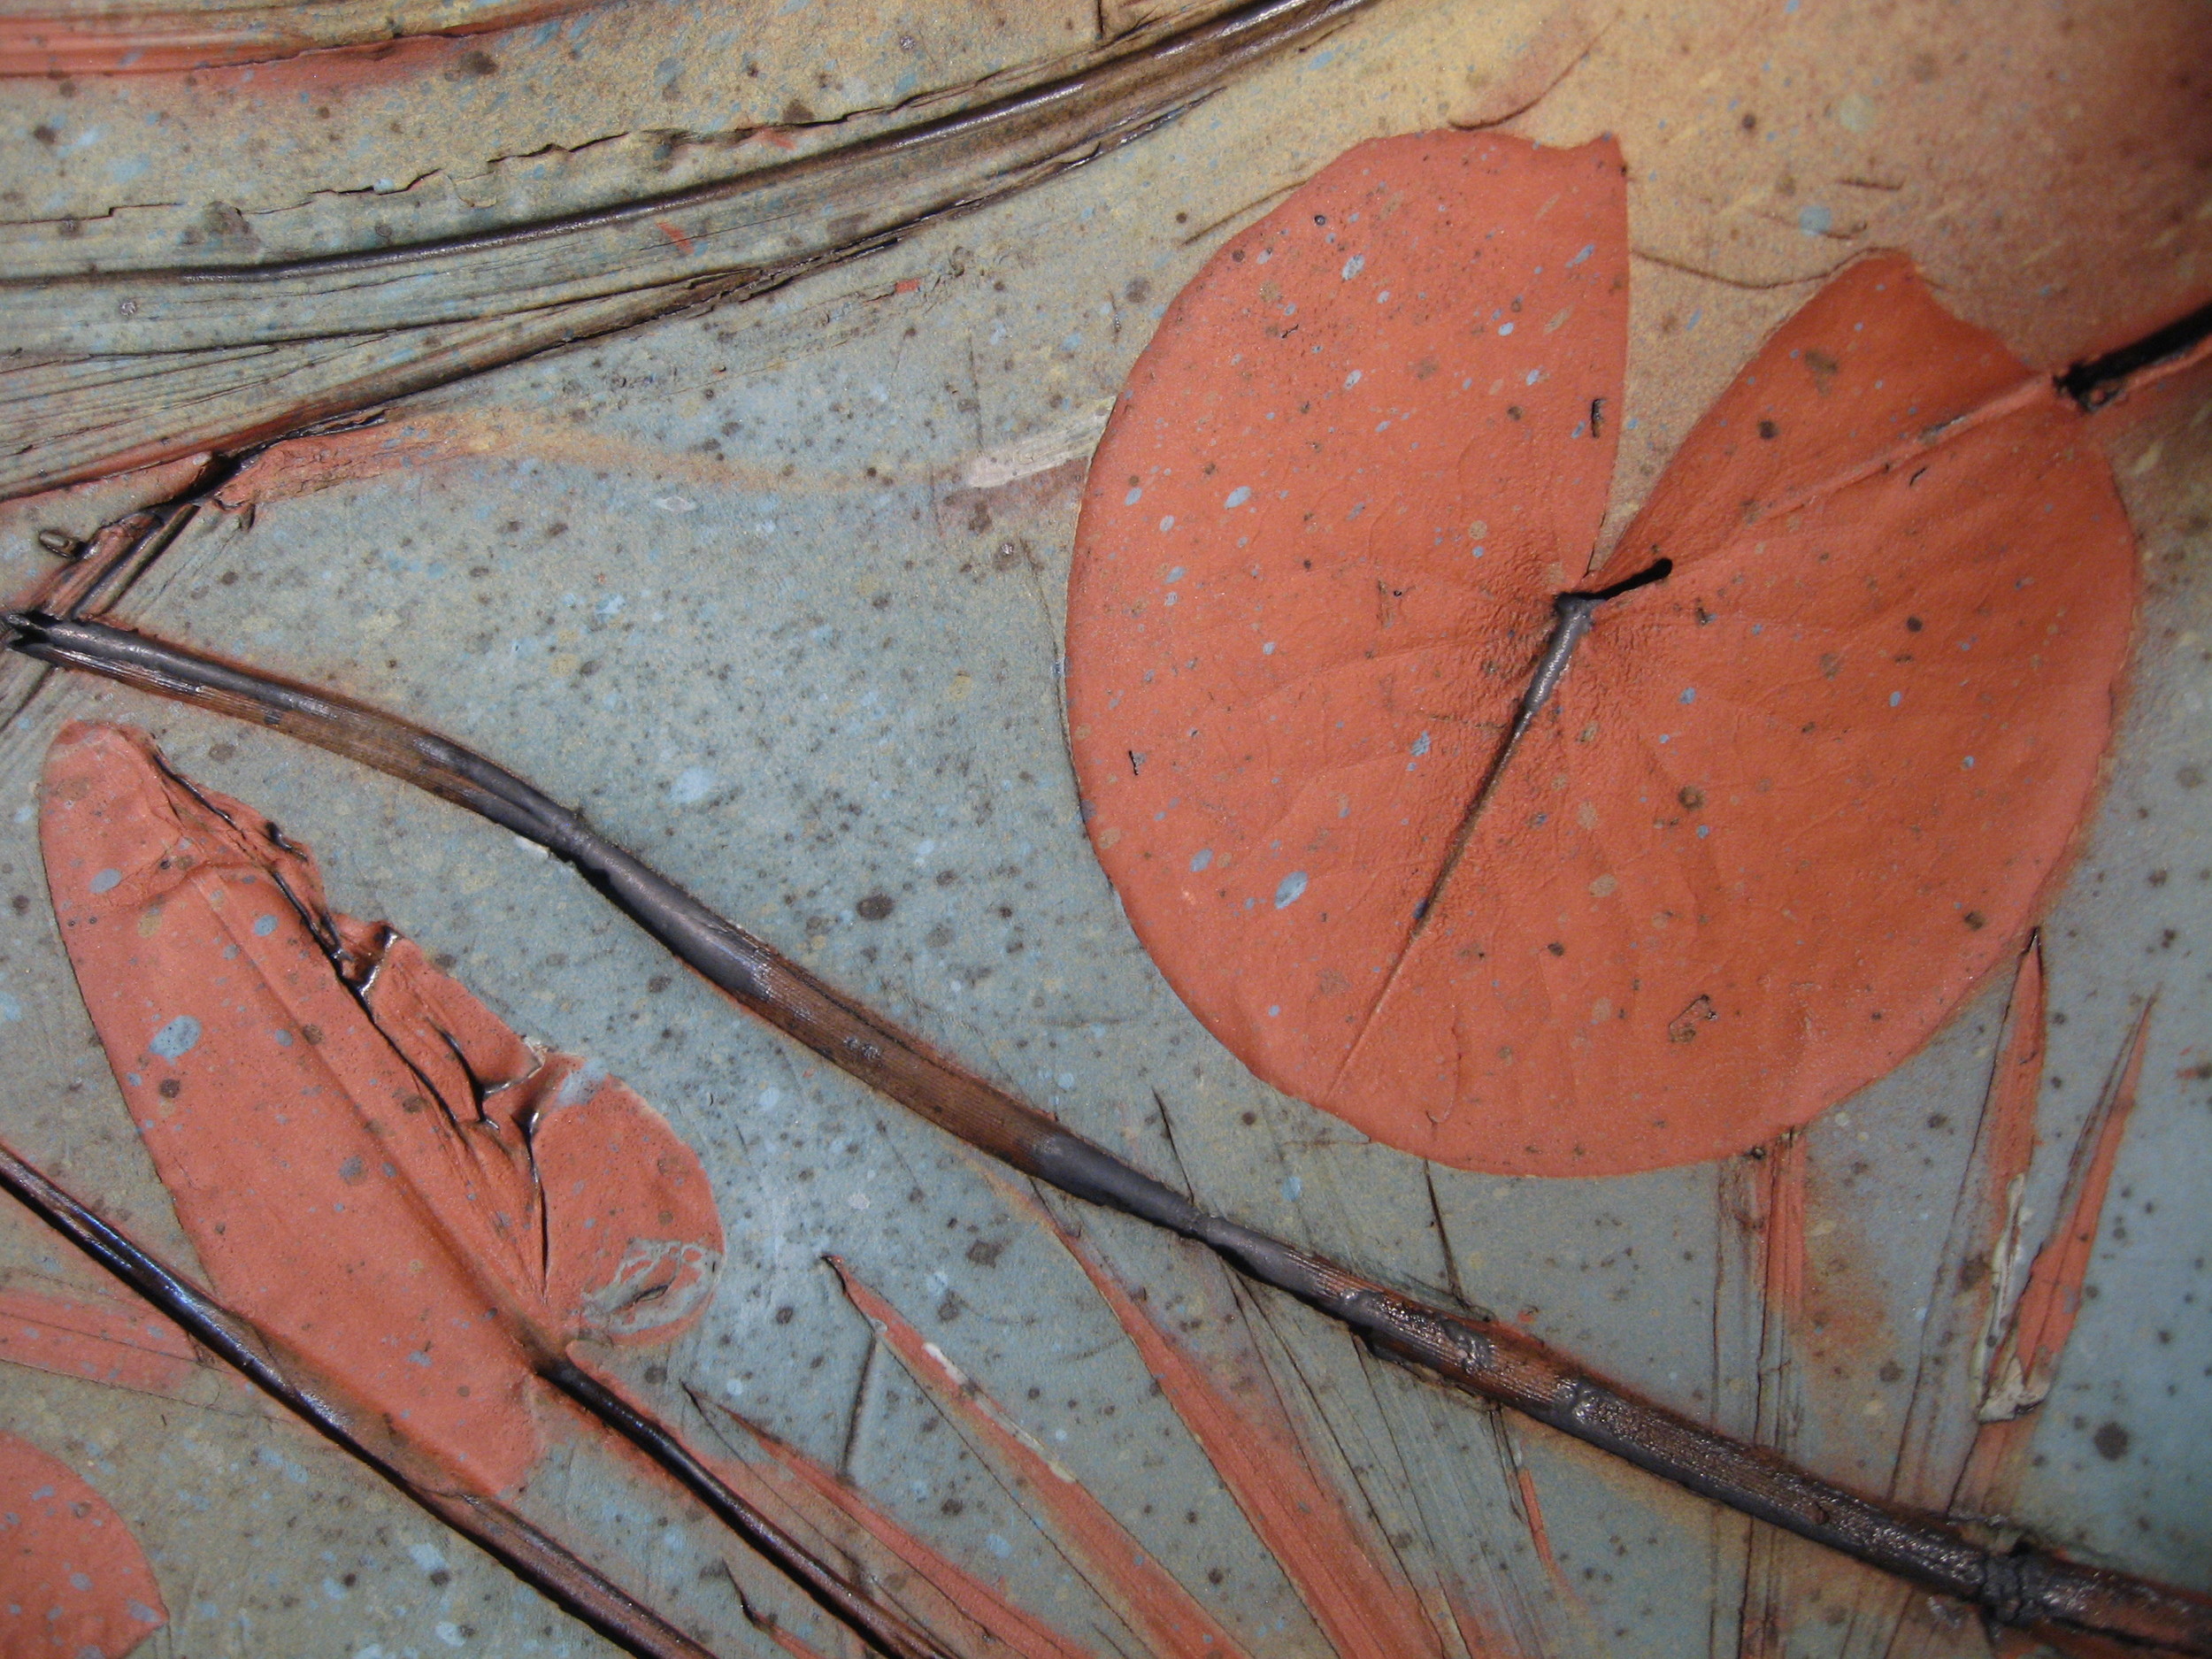
It is important to mention that I often leave all or some of the “natural stuff” right in the clay as it will fire out, leaving only a small bit of ash. Also, I often air-brush an initial layer of color. Try to imagine a green or blue terra sigillata over the red clay. Then, try to imagine that where the leaves, etc. are the color will flake off with the ash of the natural materials leaving a beautiful red terra cotta color.
From this point on I make my decisions as a painter. I use oxides, more terra sig (a refined thin, colored slip) but put it on thin. Sometimes I use underglazes for a certain color or effect. I also use my airbrush to mix and blend colors. Sometimes I also spatter and sponge color. Only on rare occasions do I use glaze on the outside. I do, however, use glaze on the inside of vessel forms called stelae. Sometimes I fire 3 times for the layering I want and other times I have fired 5 or 6 times, each additional time put at risk the clay at increasing risk of cracking... I fire slowly, with a 30 minute hold at the end. Sometimes I will fire at high as cone 05 but usually that is the first firing and it is cone 06 or lower after that. These are low-fire temperatures.
Usually my sculptural work is more abstract than my Garden Impression Series but I have come to love the exquisitely detailed impressions coming from using the real plants from my garden. These tiny details and natural imperfections are what I have come to notice and admire on my daily walks in my garden and our morning walks in the park. Careful observation of things comes with this practice....
My suggestion is that if you wish to do something similar, start by taking the time to really observe nature closely. Choose inspiration that draws YOU in and captures your imagination. Your work should reflect your journey after all, not mine! Hopefully some of the techniques and practices will help you on your journey and bring you closer to nature and to yourself....if you can do this, the process will be certain to help to bring you peace and tranquility, something we all need more of. This is one small way we can make a difference in this crazy world of ours. By bringing peace to ourselves we are sharing some of our peace with others...
